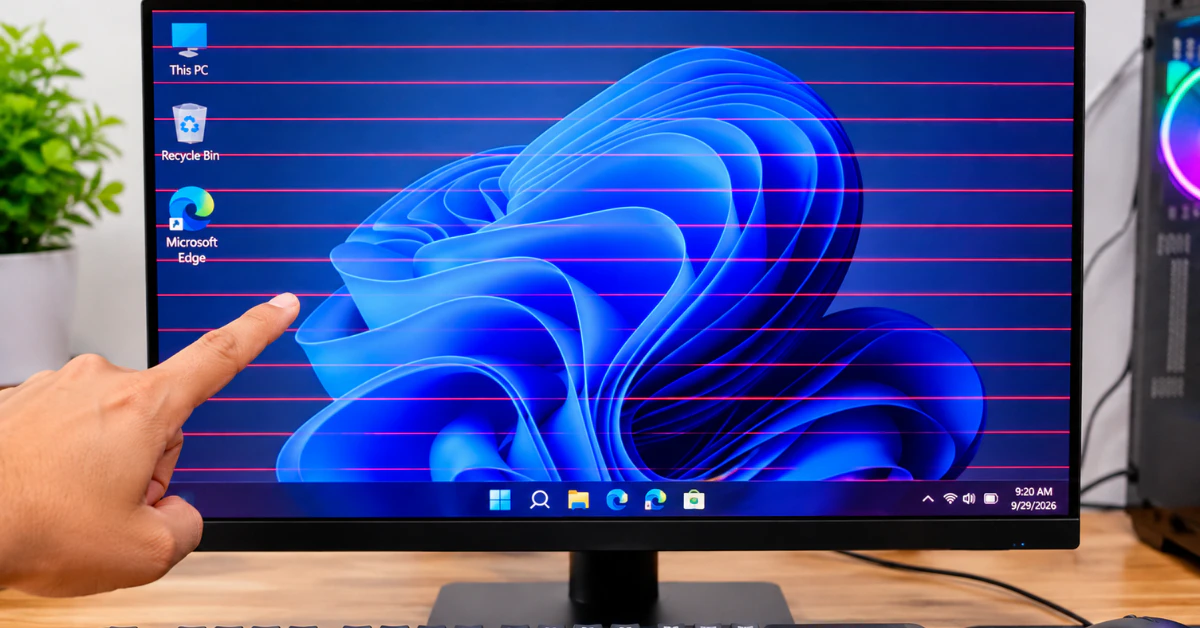
Red lines on a PC screen usually come from one of three things: a software glitch, a loose or bad cable, or a failing part like the screen or graphics card. This 60-second test shows if yours is a temporary glitch.
- Press the Windows logo key, Ctrl, Shift, and B together.
- Watch for a flicker or listen for a beep. That means Windows reset the graphics driver.
- Look at the screen. Are the lines gone?
If they are gone, it was probably a temporary glitch. If they stay, keep reading. The next sections help you find the cause.
Microsoft lists this shortcut for black or blank screens, not for lines. Still, it costs nothing and is safe, so I try it first. It works on Windows 10 and 11 only.
This guide covers vertical lines, horizontal lines, and a red border on monitor screens. A red border can have different causes than lines, so I will flag it when that matters.
I will walk you through the checks in order. Each one rules out a cause: software, the cable, or the hardware itself. You will know what is wrong before you spend a dime.
Take a breath. Red lines look scary, but many causes are cheap or free to fix. Let’s find yours.
One tip before you start: take a photo of the lines with your phone. It helps if you need support later, and a clear photo shows whether they run up or across.
Stop! Read This Before Opening Anything
The tests in this guide do not require opening any device. The quick key press, a second monitor test, and built-in self-tests are all safe to run.
Warning: Never open a monitor. Samsung’s monitor service manual warns of a risk of electric shock. It says not to remove the cover or back, because there are no user-serviceable parts inside. Treat a TV the same way.
Warning: Opening a laptop may affect your warranty. Check your brand’s warranty terms first. If you are unsure, leave it closed.
Also know this: Dell says physical damage to a screen is typically not covered under a standard warranty. Dell Support can still review repair options based on your coverage.
Back up your data now. Copy your files to a cloud service or an external drive before you go further. Repairs sometimes need the device to leave your hands.
Do this before the rest of the guide.
The “Where Do the Lines Appear?” Decision Matrix
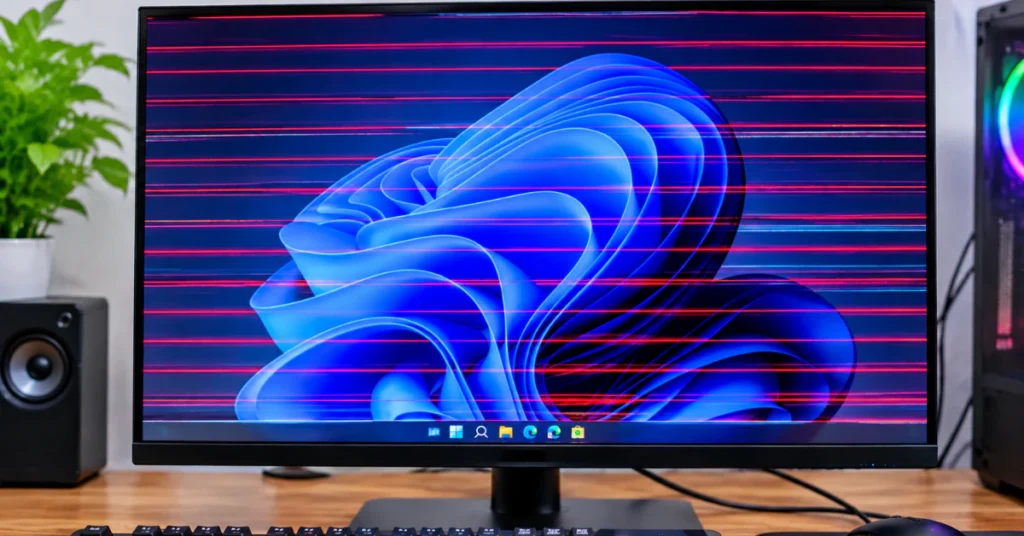
Where the lines show up tells me more than any other clue. Two quick checks cut the list of causes down fast. Do them in order.
Check 1: The screenshot test
Take a screenshot while the lines are on your screen. Then open that saved picture on your phone or another computer.
Here is why this works. A screenshot copies what the graphics card (GPU) built. It never touches the cable or the monitor.
- Lines are in the picture: the GPU or its driver made them.
- The picture is clean, but your screen still has lines: the signal went bad after it left the PC. That points to the cable, the port, or the monitor.
On a laptop, a clean screenshot also points past the graphics card. It cannot tell you which part inside is at fault, though.
Check 2: The BIOS test
BIOS is a small setup screen that runs before Windows starts. Drivers are the helper programs that let Windows talk to your graphics card. Drivers have not loaded yet at this point.
Restart your PC and open the BIOS. The key to press differs by brand, so check your maker’s guide. Watching the screen during startup, before the Windows logo, is a similar test.
If lines show up here, Windows and drivers are not the cause. This points to a hardware problem.
I like this test because it takes Windows out of the picture. If the BIOS looks clean but the lines return in Windows, software is the likely cause, such as a driver.
No second monitor? These two checks still work. You do not need one.
Read your results
| What you see | What it points to | Where to go next |
| Lines in the screenshot | GPU or its driver | Driver steps |
| Clean screenshot, lines on screen | Cable, port, or monitor | Cable and monitor tests |
| Lines in the BIOS or at startup | Hardware, not Windows | Self-tests, then repair options |
| Lines in only one game or app | The game or its driver | Update the driver and test other apps |
Not sure which row fits? Run both checks again and note what changes. The next sections take each branch one at a time.
The Easiest Software & Cable Checks
Start with the free fixes. They take minutes and need no tools.
Step 1: Do a full restart
Save your work and choose Restart. Sleep is not enough, because it keeps your PC’s current state, so it will not clear a glitch.
Then check the screen again. If the lines are gone, watch for them over the next day.
Step 2: Reseat your video cable
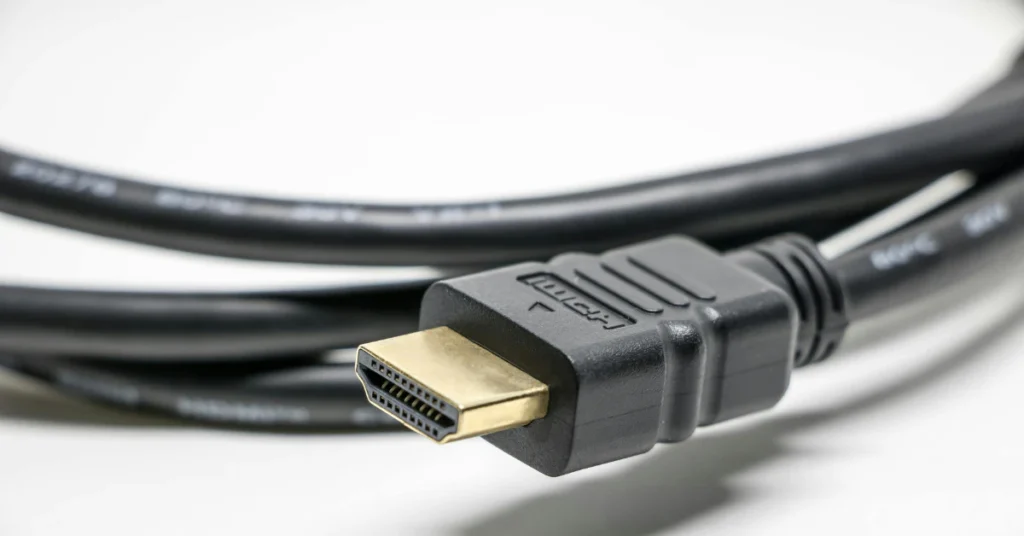
Reseat means unplug and plug back in firmly. Use this for a desktop or any external monitor.
- Turn off the PC and the monitor.
- Unplug the HDMI or DisplayPort cable at both ends: the monitor and the PC.
- Plug each end back in until it feels snug. Do not force it.
- If you use a dock or adapter, try plugging in directly.
- Turn everything back on.
Red vertical lines on a monitor? A worn cable is a cheap thing to rule out. If you own a spare cable, swap it in. If it clears the lines, replace the old one.
Red horizontal lines on a laptop screen have no outside cable to check. If the lines show only on the built-in screen, skip this step.
Step 3: Check for dust and heat (desktops)
NZXT notes that dust, a failed fan, or poor airflow can cause artifacts that disappear once the graphics card cools down. Check airflow from the outside first.
- Look at case vents and filters for heavy dust.
- Check that the fans spin when the PC is on.
- Leave space around the PC so air can move.
Warning: Before opening a desktop case, turn off and unplug the PC. If you are unsure, skip this. Do not open a laptop, because it may affect your warranty. Check your brand’s terms first.
If the lines fade after the PC rests, heat may be involved.
Lines still there? Move on to the next fix.
Run a Built-In Self Test (Preboot Diagnostics)

No second monitor? You can still test. Many laptops and monitors have a screen test built in. These tests run without Windows, so they show if the screen itself is the problem.
Use them for laptop screen red lines or red lines on a monitor screen.
HP laptops and PCs
- Turn the PC on and press F2 at boot.
- Choose Component Tests.
- Choose Video.
You will see Video Memory Check and Palette Check. Palette Check tests the red, green, and blue parts of the picture, which makes it a good match for red lines. A Dead Pixel Check exists too, but only with HP’s USB key tool.
The HP test also runs outside Windows. Menus differ by model, so check HP’s guide for yours.
Dell laptops
- Save your work and shut down.
- Unplug external monitors, USB devices, docks, and headphones.
- Plug in the power adapter.
- Hold the D key, then press the Power button.
- Keep holding D until colors appear.
The screen cycles through black, white, red, green, and blue. Watch each color for lines. Press Esc to stop, or hold the Power button for 10 seconds. If nothing appears, try again with a firm press on D before you press Power.
Dell’s laptop screen test guide has the full steps. Lines, dots, or dark areas mean you should contact Dell Support. Take a photo first. A clean test means you should check the graphics driver, Windows display settings, and updates.
Newer Dell laptops with an updated BIOS also run an enhanced test that can show LED flash codes.
Dell monitors
Dell monitors have a built-in diagnostic. Button steps differ by model, so use your monitor’s manual. Alienware monitors need the video cable unplugged first.
Here is how to read it. If red lines show up during the test, the monitor is the problem. If the screen looks clear, the monitor is fine, and the cause is likely the graphics card or your computer settings.
Other brands
Key combos vary. Lenovo’s support community points to the Novo Menu or the BIOS. Check your maker’s guide instead of guessing keys.
Why this works
These tests do not use Windows or drivers. If the lines still show up, drivers cannot be the cause.
What your result means
- Lines show in the test: it is a hardware problem. Stop reinstalling drivers and contact your maker.
- Test looks clean: the screen is probably fine. Move on to the software fixes.
Write down what you see, including the color of the lines and whether they run up or across. Support teams often ask for it.
Warning: These tests need no tools. Do not open the monitor or laptop to dig further.
Power States, Refresh Rates, and “Plugged-In” Glitches
Do the lines appear only when the charger is plugged in? That is a clue worth testing. Red flickering lines on screen that vanish on battery power can point to power or refresh rate changes.
Why plugged-in matters
Refresh rate is how many times per second your screen redraws. Some laptops use a high rate on wall power and a lower rate on battery.
MSI documents this. Its high-refresh laptops switch the panel rate when you connect or disconnect the AC adapter. MSI says the switch can cause a brief black screen and is not a display fault.
MSI does not describe lines, though. User reports do. One ASUS TUF owner saw black flickering lines at the bottom of the screen once the laptop was plugged in and running at 144Hz. A Reddit user saw lines only when plugged in, while an external monitor looked clean (both user-reported).
That Reddit user fixed it by reseating a loose screen cable inside the laptop. That means opening the laptop, so I do not suggest it.
Test it
- Unplug the charger and watch the screen on battery.
- Plug it back in and watch again.
- Go to Start > Settings > System > Display > Advanced display.
- Next to Choose a refresh rate, pick a lower rate.
- Watch the screen again while charging.
A rate marked with an asterisk (*) does not support your current resolution. Picking it will change your resolution, per Microsoft.
On Windows 11, that page may also show a Dynamic refresh rate toggle. It works only on supported hardware. Try turning it off as a test.
Some MSI models have a Display Power Saver option in MSI Center (Features > General Settings). Turning it off stops the rate switching but may shorten battery life.
Read the result
- Lines gone at a lower rate: The refresh rate is a trigger. Treat the lower rate as a workaround, not a cure. Contact your maker’s support, especially if you are under warranty.
- Lines stay at every rate: This is not a refresh rate issue. Move on to the next fix.
Warning: Do not open the laptop to chase this. It may affect your warranty.
Safe Driver Updates (and When to Stop)
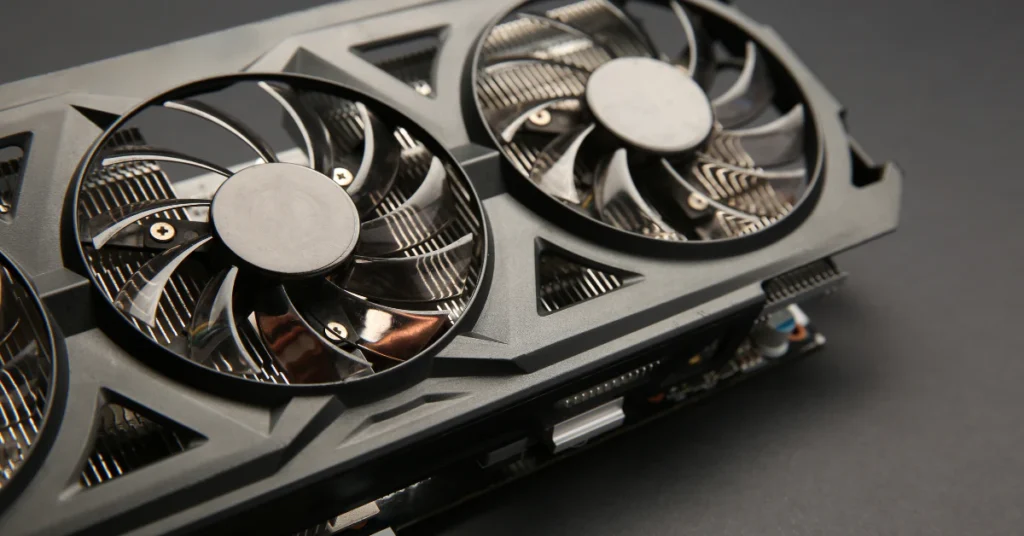
Skip this fix if the lines showed up in the BIOS or a built-in test. Drivers were not running then, so they cannot be the cause. If the lines show only in Windows, one careful driver update is worth a try.
Update the driver the safe way (NVIDIA)
A driver is the helper program that lets Windows talk to your graphics card. A messy or old one can leave glitches behind.
Many forum posts push a tool called DDU in Safe Mode. It is an advanced, third-party tool, and the thread I found never confirmed what fixed the problem. I do not suggest it for beginners.
Try the built-in option first. Dell documents a Clean Install choice in NVIDIA’s installer for video issues. It is a low-risk way to fix red lines in Windows if a bad driver is the cause.
- Download the driver for your exact card from NVIDIA’s site. Laptop owners should pick the laptop version.
- Open the file and follow the prompts until you reach Installation Options.
- Choose Custom (Advanced).
- Check Perform a Clean Installation.
- Click Next, finish, then restart.
Your screen may flash or go blank a few times during the install. That is normal.
Dell’s NVIDIA clean install page shows each screen. AMD and Intel steps differ, so follow your maker’s page for those.
If the lines began right after a driver update, try Device Manager > Display adapters > your adapter > Properties > Driver > Roll Back Driver, if the button is available.
The Stop Rule
One clean install. That is my limit.
An AMD community user chased red artifacts after a graphics card swap. They ran several clean installs and tried drivers from 2020 to the current one. They even changed the monitor and cable. The red line stayed.
Reinstall loops waste days. If one clean install does not fix the red lines, stop. The cause is likely hardware, or something a driver cannot fix.
Move on to the hardware checks and contact your maker’s support.
Fix 5: Advanced Hardware Checks (Proceed with Caution)
This section is for people who are comfortable opening a PC. If that is not you, skip ahead to your repair options.
Warning: Turn off and unplug everything before you open a desktop or laptop. Never open a monitor. Samsung’s service manual warns of electric shock and says there are no user-serviceable parts inside. Opening a laptop may affect your warranty, so check your brand’s terms first.
Desktop PC
Reseat means remove a part and plug it back in firmly. Do this with:
- The graphics card and its power cables
- The memory (RAM) sticks
Then power on and test again. Go gently, and do not force any part.
Reseating does not always work. One forum poster tried both and still had red lines.
Laptop
First, try a test that needs no tools. Move the lid slowly. If the lines change with the angle, a loose or worn cable inside may be the cause.
One Reddit user saw lines only when plugged in, and an external monitor looked clean. They unplugged and reseated the screen cable on the motherboard, and the problem was solved (user-reported). A reply said these connections come loose often. That is one person’s result, not a promise.
Laptop teardowns vary a lot by model, so I will not list steps. Use your maker’s service guide for your exact model. No guide? Leave it closed.
When to stop
If the lines remain after reseating, stop. Do not buy parts by guessing. Do not press or twist the screen either. Contact your maker’s support or a repair shop instead.
Take a photo of the lines and list what you tried. It speeds up support.
For a monitor, the hardware fix is a swap or service by the maker, not a DIY job.
Summary: The Cause-to-Test-to-Fix Cheat Sheet
Skimming? This table sums up the whole guide.
| Potential Cause | The Test That Proves It | The Fix | DIY Safety Level |
| Software or driver | Lines show in a screenshot, but not in the BIOS | One NVIDIA Clean Install (follow your maker’s steps for AMD or Intel) | Safe |
| Monitor hardware | Lines show in the monitor’s built-in self-test | Warranty repair or replacement | DO NOT OPEN |
| Cable | Clean screenshot, but lines on screen; a spare cable clears them | Replace the cable | Safe |
| Laptop panel or internal cable | Lines show in the preboot test (HP Palette Check, Dell hold D) | Contact your maker; advanced users may reseat the internal cable | Advanced/Risky; may affect warranty |
Match your test result to a row, then follow that fix. If one clean driver install fails, stop and contact your maker.
Warning: Never open a monitor. Opening a laptop may affect your warranty.
Frequently Asked Questions
Can red lines on a PC screen fix themselves?
Sometimes. Heat can cause lines that fade once the graphics card cools, and a short glitch may clear after a restart. Lines that show in the BIOS or a built-in self-test will not fix themselves. Those point to hardware and need repair or support.
Are red lines always a sign of serious damage?
No. Causes range from a loose cable or a driver glitch to a failing screen. One laptop user fixed lines by reseating a loose internal cable (user-reported). Run the screenshot, BIOS, and self-test checks first. They show how serious the problem is before you spend money.
Do red lines mean my graphics card is dying?
Not by themselves. Lines in a screenshot point to the graphics card or its driver. A clean screenshot points to the cable, port, or monitor. A failing card is only one possibility, so test before you replace anything.
How much does it cost to fix red lines on a PC screen?
It depends on the cause, and I found no reliable US price list. A restart, driver update, or cable reseat is free. For repairs, ask your maker for a quote and check your warranty first. Dell says physical screen damage is typically not covered under a standard warranty.
What is a TAB bond failure, and can I fix it?
Technicians sometimes point to TAB, a connection between a panel’s driver chips and the glass. A failed one is a panel fault, not a beginner repair. I do not recommend pressing on a screen to fix it. Contact your maker or a repair shop, and never open a monitor.
Why do red lines show up only when my laptop is plugged in?
Some laptops change the screen refresh rate when you plug in or unplug. MSI documents this on its high-refresh models. Lines at high refresh rates are user-reported, not confirmed by MSI. Try a lower rate in Start > Settings > System > Display > Advanced display, and contact your maker if the lines return.
Final Verdict
Red lines look scary, but a few simple tests tell you most of what you need. Start with the free steps: a full restart, the Windows logo key + Ctrl + Shift + B shortcut, and a cable reseat.
Next, check where the lines appear. Lines in a screenshot point to the graphics card or driver. A clean screenshot points to the cable, port, or monitor. Lines in the BIOS or a built-in self-test point to hardware.
Try one clean driver install if the lines show only in Windows. If it fails, stop. More reinstalling is unlikely to help.
Keep safety first. Never open a monitor, and remember that opening a laptop may affect your warranty. When the tests point to hardware, contact your maker and share your photo and test results.
You now have a clear path, so you can skip the guesswork.