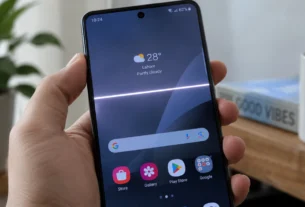
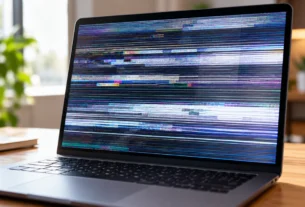
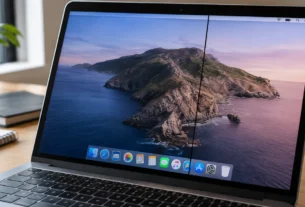
Lines on your Mac screen are usually caused by one of two things: a small software or graphics glitch, or a hardware problem like a worn display cable or a failing panel. Both horizontal and vertical lines can show up this way, whether they stay still or flicker on and off.
If your screen has lines but your Mac is still running fine, do not panic. Save your work first. Then restart your Mac. This clears out small software hiccups and is always the safest first step before you try anything else.
A lot of the time, this simple restart is enough to make the lines disappear completely.
Start Here: The Two 30-Second Self-Diagnostic Tests
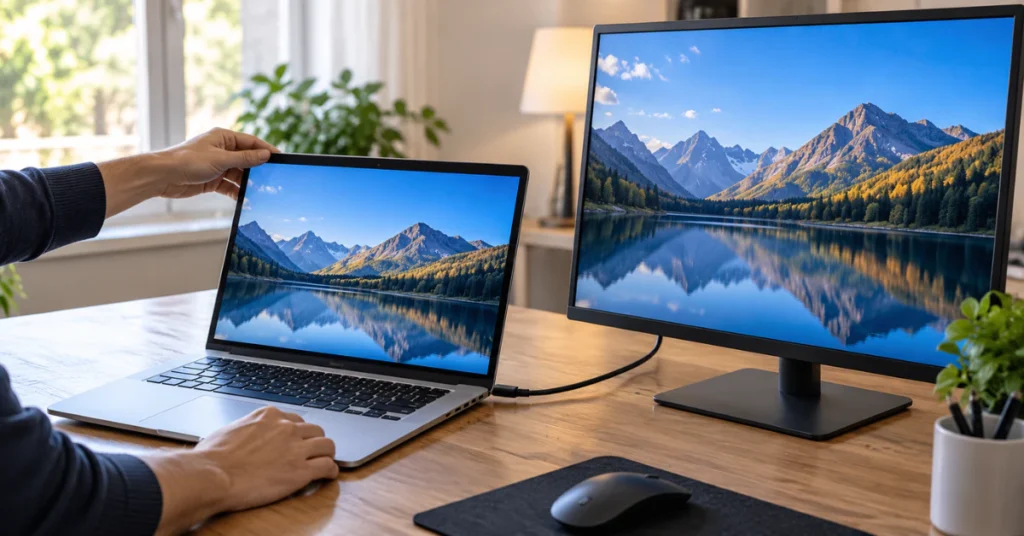
Before you try any fixes, run these two quick tests. They take less than a minute and will tell you if the problem is software or hardware. That matters a lot, because it decides what to try next.
Test 1: The External Monitor Test
Plug your Mac into an external monitor or TV using a cable.
Look closely at the external screen.
- If the lines do NOT show up on the external screen, the problem is likely stuck inside your Mac’s own display or its cable. This is good news. It usually means your graphics system is fine.
- If the lines DO show up on the external screen too, the problem may be coming from deeper inside the Mac, such as a software glitch or a graphics chip issue.
Test 2: The Hinge Tilt Test
This test is for MacBook laptops only, since it uses the hinge.
While your Mac is on, gently push the screen back and forth on its hinge. Move it just a little in each direction. Watch the lines closely while you do this.
- If the lines flicker, shift, or disappear as you move the screen, this points to a worn or cracked cable inside the hinge area. This cable connects the screen to the rest of the laptop.
- If the lines stay exactly the same no matter how you move the screen, the cause is less likely to be this cable.
These two tests will not fix the lines. But they will save you time by pointing you toward the right next step.
Screen Line Symptoms and Likely Causes (Comparison Table)
Not all screen lines mean the same thing. Use this table to match what you are seeing to its likely cause.
| What You See | Likely Cause | Fix Type |
| Horizontal or vertical colored lines | Graphics chip or panel issue | Hardware |
| Black lines that don’t move or change | Dead pixels or panel damage | Hardware |
| Lines that shift or disappear when you move the screen | Worn or cracked flex cable in the hinge | Hardware |
| Lines that appear only in certain apps or after an update | Software or graphics driver glitch | Software |
| Flickering lines that come and go randomly | Could be either, run the self-tests above first | Software or Hardware |
This is a general guide, not a final diagnosis. The self-tests from the last section will help you confirm which category fits your Mac.
Step-by-Step Software Fixes (Do These First)

If your self-tests pointed to a software cause, or you are not sure yet, try these steps in order. They are safe and free.
Check for a macOS update
Open System Settings, then click General, then Software Update. Install any update that is available. A bug in an older version of macOS can sometimes cause display glitches, and Apple often fixes these in later updates.
Restart your Mac
If you have not already done this, do it now. Click the Apple menu and choose Restart.
Reset NVRAM or PRAM (Intel Macs only)
Important: This step only works on Intel-based Macs. If you have an Apple Silicon Mac (M1, M2, M3, or M4), skip this step entirely. Apple states this reset “aren’t needed” on these newer Macs.
If you have an older Intel Mac, shut it down completely. Turn it back on and immediately hold down Option, Command, P, and R at the same time. Keep holding these keys for about 20 seconds, then let go. Your Mac will restart on its own. You can find Apple’s official steps for this on their support page.
Reset the SMC
The SMC controls things like power and battery behavior on your Mac.
- On Intel Macs: Shut down your Mac. There is a specific key combination to reset the SMC, and it varies depending on whether your Mac has a battery you can remove or not.
- On Apple Silicon Macs (M1 and newer): There is no key combination for this. Instead, simply shut your Mac down completely, wait about 30 seconds, then turn it back on. This acts as the equivalent reset.
Not sure which chip your Mac has? Click the Apple menu, then About This Mac. It will list your chip name right there.
Try each step one at a time. Check your screen after every step before moving to the next one.
The Final Software Check: Erase and Restore
If the resets above did not help, there is one last software check worth trying. Apple Support recommends erasing your Mac and restoring it to factory settings as a way to rule out software completely.
Before you do this, back up your data. Erasing your Mac removes everything on it, so make sure your files are saved somewhere safe first.
Once you erase and restore your Mac, watch the screen closely during setup.
If the lines are still there right after the wipe, with no apps, no old files, and no personal settings installed, you now have your answer. The problem is not software. It is hardware.
This is actually useful news. You can stop trying software fixes and move straight to deciding on a repair, without wasting more time.
Hardware Failures Explained: Cables, Logic Boards, and Warnings
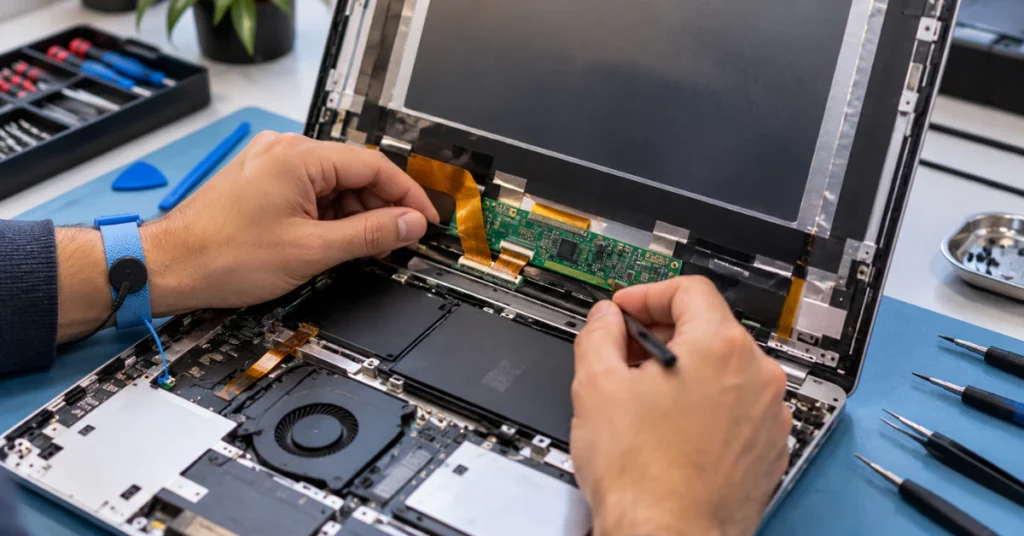
If your self-tests and software checks point to hardware, here is what might actually be happening inside your Mac.
A worn display cable
Some MacBook Pro models use a thin cable that connects the screen to the rest of the laptop. This cable bends every time you open and close the lid. Over years of use, it can wear out or crack. This issue became well known enough that people online started calling it “Flexgate.”
Here is an important correction many people get wrong. Apple did run a free repair program for certain 13-inch MacBook Pro models from 2016, called the Display Backlight Service Program. But this program covers backlight problems, like uneven lighting or the backlight failing completely. It does not cover line artifacts on the screen. So if you are hoping this free program covers your specific line problem, check the details carefully first, since it may not apply.
Older logic board problems
On some older Macs, a different kind of hardware failure can also cause screen distortion. This comes from the graphics chip itself, sometimes called the GPU, which sits on the main circuit board, or logic board. Apple ran free repair programs for specific older MacBook Pro models back in 2008 and again in 2015 to fix this exact issue. Both of those programs have since expired. But the pattern still explains why an older Mac might show distorted lines coming from deep inside the machine, not just the screen itself.
A safety warning you need to read
Do not try to open your MacBook to inspect or fix these cables yourself. This is risky. It can cause further damage to your screen or internal parts, and it can void any warranty or AppleCare coverage you still have. The hinge test from earlier only asked you to gently move the closed laptop. It never asked you to open the case. Leave that part to a professional.
Repair Costs and Next Steps

Once you know it’s a hardware issue, the next question is usually about cost. Here is what to expect.
If you have AppleCare+, accidental screen damage is typically covered for a flat fee of $99. This applies to cracked or physically damaged screens.
If your Mac is out of warranty and does not have AppleCare+, a full screen replacement usually costs somewhere between $500 and $800. The exact price depends on your specific Mac model. Since prices can change, it is best to check Apple’s own Mac repair service page for a current estimate, or book a free evaluation to get an exact number for your machine.
Getting an estimate costs nothing. You can walk in, have it looked at, and decide from there. There is no pressure to repair on the spot.
Here is why it is worth acting soon rather than waiting. If the lines are coming from a worn or cracked cable, that cable usually gets worse over time, not better. What starts as a few flickering lines can slowly turn into a dead or unusable screen.
So the smart move is this: book an appointment with Apple or an authorized repair provider, get the free estimate, and then decide if repairing is worth it based on your Mac’s age and your budget. You are not stuck making a decision today. You are just gathering the facts you need to make a good one.
Frequently Asked Questions
How to fix weird lines on screen?
Start by restarting your Mac and running the two quick self-tests described earlier. Then check for macOS updates and try an NVRAM or SMC reset if your Mac is Intel-based. If lines remain after a full erase and restore, the issue is hardware and needs a repair visit.
How much does it cost to fix lines on a MacBook screen?
With AppleCare+, accidental screen damage is typically a flat $99 fee. Without AppleCare+, a full screen replacement usually costs between $500 and $800, depending on your Mac model. Check Apple’s repair page for an exact quote.
Can lines on a laptop screen be fixed?
Yes, in most cases. Software causes can often be fixed for free with updates and resets. Hardware causes, like a worn cable or damaged panel, need a professional repair, but they are almost always fixable.
How do I remove a line on my Mac?
Follow the diagnostic steps in this guide in order. Start with the self-tests, then try the software fixes, and finish with an erase and restore if needed. This will tell you whether the line needs a software fix or a hardware repair.
How do I fix lines on my Mac screen?
The process is the same as above. Work through the self-tests and software steps first. If the lines are still there after a full wipe, book a repair estimate rather than trying more software fixes.
Conclusion
Screen lines are scary to see, but they are rarely a reason to panic. Most of the time, a quick restart or software reset clears things up. When it turns out to be hardware, you now know exactly what it costs and what to expect at your repair appointment. Either way, you have a clear path forward instead of guesswork.