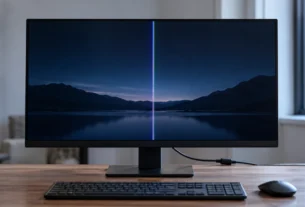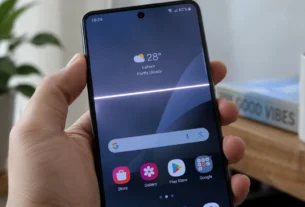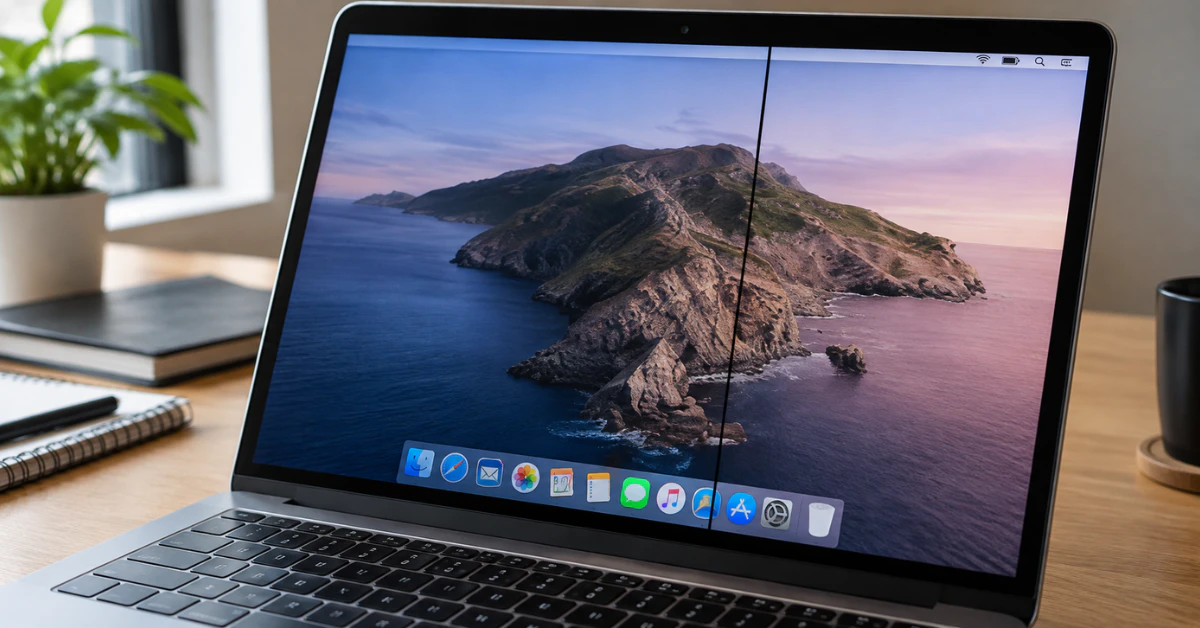
A black line on your Mac screen almost always comes from one of two places: the display hardware itself, or something happening in software or the graphics chip. You can find out which one in under a minute.
Take a screenshot of your screen. Then open that screenshot and look closely, or move it to another device to check it.
If the black line is gone from the screenshot, your actual screen or its cable is likely damaged. A screenshot only captures what your Mac is telling the screen to show, not physical damage to the glass or panel.
If the black line shows up inside the screenshot too, the problem is coming from software or the graphics processor, not a broken screen.
This guide walks you through both paths. We will start with free checks anyone can do, then explain when the problem is truly a hardware issue that needs a real fix.
The 10-Second Free Fix: Check Mac Accessibility Settings
Before you touch any deeper fixes, check one setting first. It costs nothing and takes seconds.
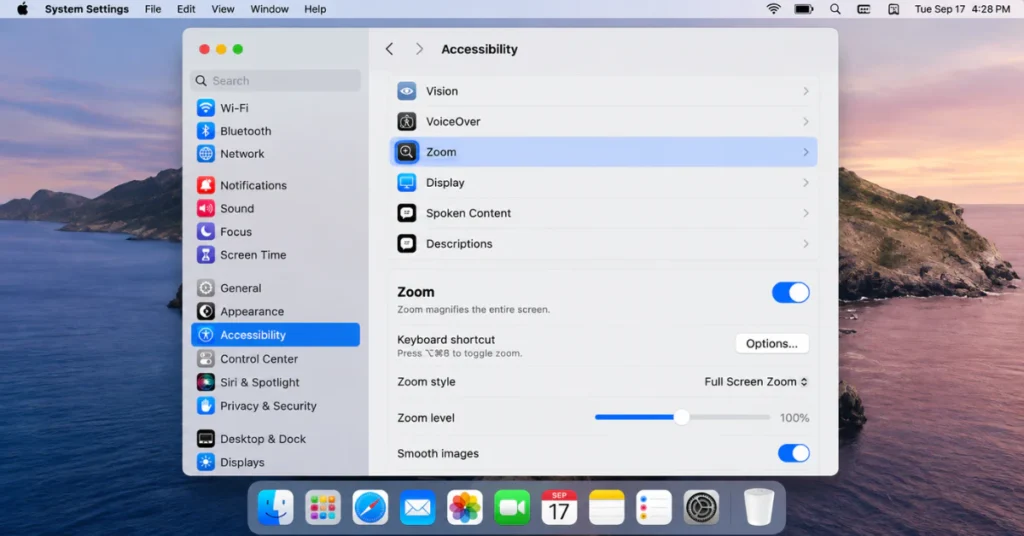
macOS has an accessibility feature called Zoom. One of its options is called “Show preview rectangle when zoomed out.” This draws a rectangle outline on your screen that follows your mouse pointer around.
If someone bumped a key combo, or a kid was exploring your settings, this can turn on without you noticing. The rectangle outline can easily look like a strange black line or box glitch, especially if you do not remember ever using Zoom.
Here is how to check it:
- Open System Settings
- Click Accessibility
- Click Zoom
- Look for “Show preview rectangle when zoomed out” and turn it off if it is on
If this was the cause, your screen will look normal again right away. If the line is still there, move on to the next steps.
Isolate the Issue: The External Monitor Test

The screenshot test tells you if the problem is hardware or software. The external monitor test tells you which piece of hardware is at fault. This matters a lot, because the two possible parts cost very different amounts to fix.
Here is what to do. Plug your Mac into an external monitor or TV using the correct cable for your model. Then turn on the external display and set it to show your Mac’s screen.
Now watch closely. Do the vertical lines or colored lines show up on the external screen too?
If the lines do NOT appear on the external monitor:
This points to your laptop’s built-in screen. The problem is likely the LCD panel itself or the flex cable that connects the screen to the rest of the laptop. Your Mac’s internal parts are working fine. The issue is physical and sits inside the display.
If the lines DO appear on the external monitor too:
This points to something deeper. It suggests your Mac’s Graphics Processing Unit, or GPU, is failing. The GPU is the chip that creates the images your screen displays. If it is damaged, every screen you connect will show the same problem, because the bad image is being sent out in the first place.
This test is also recommended in Apple’s own display troubleshooting guidance, which points to checking display detection and connections as an early step.
Once you know which part is failing, you can skip guessing and go straight to the right next step.
Important Safety & Warranty Warning
Do not open your Mac to try to fix this yourself.
A black line almost always points to a problem inside your display panel or your GPU. These parts are not designed for at-home repair.
Apple states clearly that repairs performed by untrained individuals, or repairs using non-genuine parts, may affect the safety and function of the device. Attempting this yourself can also void what is left of your warranty.
Instead, back up your Mac now using Time Machine. Apple’s own guidance says a repair may require erasing your startup disk, and lost data is not their responsibility. Back up first, then move on to getting it checked.
Run Apple Diagnostics to Find the Exact Hardware Fault
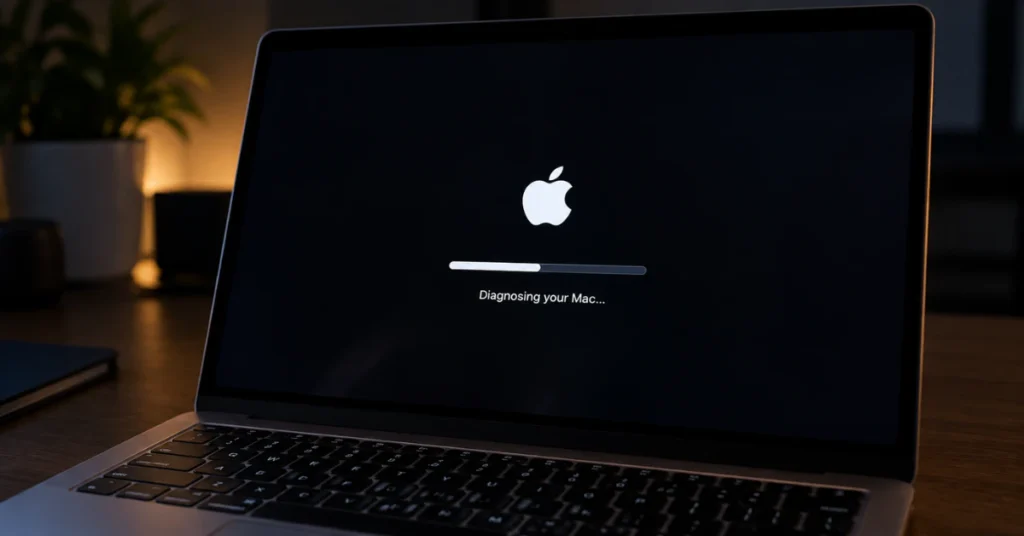
Your Mac has a built-in tool that can check its own hardware. It is called Apple Diagnostics, and it takes just a few minutes to run.
How you start it depends on your Mac.
If you have an Apple Silicon Mac (M1, M2, M3, or M4 chip):
- Turn on your Mac and press and hold the power button
- Keep holding until you see “Options” on the screen
- Let go of the power button
- Press and hold Command and D at the same time
If you have an Intel Mac:
- Turn on your Mac
- Immediately press and hold the D key
- Keep holding until you see a progress bar or a language screen
Once the test finishes, it will show you a reference code. This code tells you exactly what is wrong.
Here is what the codes mean:
- VFD001 to VFD005: Your display itself has a problem
- VFD006: Your graphics processor, or GPU, is failing
- VFD007: Your display has a problem
Write this code down before you close the screen. This is the same information Apple’s own support team and repair techs use, straight from Apple’s official diagnostics tool. Having it in hand means you walk into any repair conversation already knowing what is broken, instead of relying on someone else’s guess.
Software Resets: Why PRAM and SMC Resets Might Not Work
If you searched online for how to fix horizontal lines on a MacBook screen, you probably saw advice to reset the PRAM or the SMC. Here is the problem. That advice is often outdated, and it depends entirely on what kind of Mac you own.
If you have an Apple Silicon Mac (M1, M2, M3, or M4):
You cannot do a manual PRAM or NVRAM reset. Apple’s own support pages say these steps do not apply to Apple Silicon Macs and are not needed on them at all.
The SMC reset also works differently. You do not press any key combination. Apple states that on these Macs, the SMC resets automatically. All you need to do is restart your Mac, or shut it down and turn it back on.
If you have an Intel-based Mac:
You can try a manual PRAM/NVRAM reset. Here is how:
- Shut down your Mac completely
- Turn it on
- Immediately press and hold Command, Option, P, and R together
- Keep holding until you hear the startup sound a second time, then let go
For an SMC reset on Intel Macs, the exact key combo depends on whether your model has a T2 chip, so check your specific model before trying it.
If you tried these resets and the line is still there, that is expected if the cause is hardware, not software. Move on to the diagnostic steps above instead of repeating resets that will not fix a physical problem.
Why Did This Happen? The Hardware Reality of Mac Screens
You did not drop your laptop. You did not spill anything on it. So why does it suddenly have black horizontal lines, a vertical black line, or flickering horizontal lines?
The honest answer is that screens can fail from the inside, with no outside damage at all. Common causes include a failed pixel column driver inside the panel, a flex cable that gets pinched or worn from opening and closing the lid thousands of times, or a GPU that develops a fault over time.
This is not a new problem, and it is not your fault. Apple has acknowledged hardware failures like this before. In 2011 through 2013, some MacBook Pro models had a GPU defect where the solder connecting the chip cracked from repeated heating and cooling, causing video problems. In 2016, some MacBook Pro displays had a cable issue nicknamed “Flexgate” that caused backlight problems from normal opening and closing.
Both of these Apple repair programs have since expired. But they prove a real point: internal parts wear out from ordinary use, not just accidents.
MacBook Lines on Screen Repair Cost & Next Steps
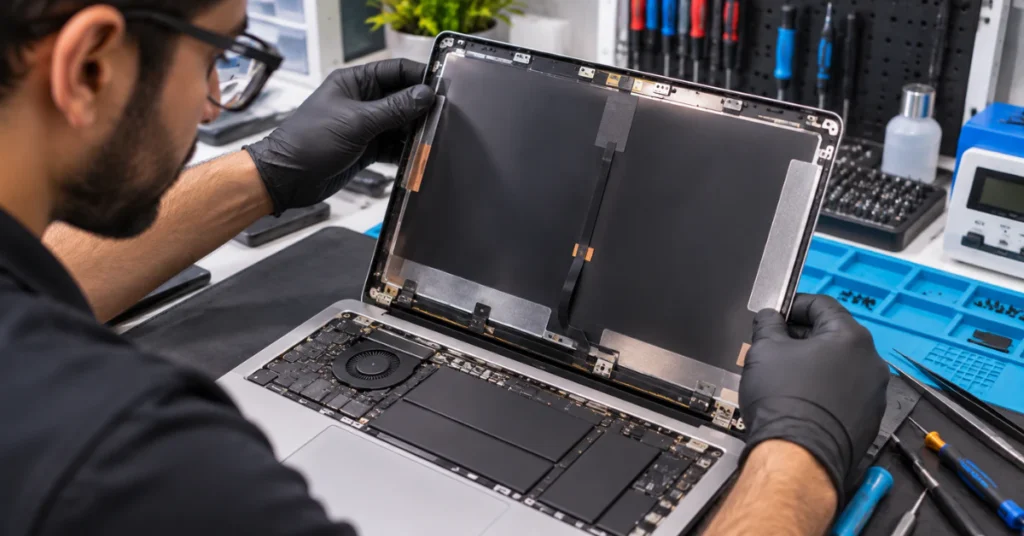
Money matters here, so let’s talk numbers.
If you have an active AppleCare+ plan, this is good news. A display repair for accidental damage costs a flat $99 fee. If the damage is somewhere else, like the logic board, that fee is $299.
If you do not have AppleCare+, the cost is higher. A full display assembly replacement is commonly quoted between $475 and $800, depending on your model. Newer screens with Retina or mini-LED technology tend to cost more than older, simpler displays.
Keep in mind these numbers are estimates, not a fixed price list. The exact cost depends on your specific Mac model and what the technician finds once they open it up.
Your best next step is to book a free evaluation. Go to Apple’s official Mac repair service page and set up a Genius Bar appointment or mail-in service. A technician can give you an exact quote for your model before you commit to anything.
Once you have that number, you can decide with confidence whether repairing your Mac makes sense, or whether it is time to put that money toward a new one.
Frequently Asked Questions (FAQ)
How do I get rid of the black line on my screen?
First, take a screenshot to see if the line shows up in it. Then plug into an external monitor to see if the line follows. If you have an Intel Mac, try an NVRAM and SMC reset. If you have an Apple Silicon Mac, just restart instead. Finally, run Apple Diagnostics to get a reference code that confirms the exact hardware problem.
How to fix black bar on Mac screen?
A black bar is usually the same issue as a black line, just wider. Follow the same triage steps above. Before anything else, check System Settings > Accessibility > Zoom and make sure “Show preview rectangle when zoomed out” is turned off, since this setting can create a bar-like outline that looks like a hardware problem but isn’t.
Is a MacBook black screen a serious issue?
It depends. A fully black screen is different from a black line. It often points to a power, brightness, or startup problem rather than a cosmetic screen defect. Either way, it still needs a proper diagnosis. Do not assume it means permanent damage, but don’t ignore it either.
How to get rid of black lines on laptop screen?
The same basic logic works on any laptop, not just a Mac. Plug into an external monitor to see if the lines are coming from the screen or from something deeper inside. Then run your laptop’s built-in hardware diagnostic tool if it has one. Keep in mind that reset methods and diagnostic tools vary by brand, so steps made for one laptop brand may not apply to another.
How do I get rid of the black line?
Start with the screenshot test, then the external monitor test. These two steps alone will tell you whether the fix is something you can try yourself or something that needs a professional repair.
Why is there a black stripe on my laptop screen?
There are three common causes. One, a row or column of pixels inside the display panel has failed. Two, the flex cable connecting the screen to the rest of the laptop is damaged or worn. Three, the graphics processor, or GPU, is failing and sending a bad image to the screen.
Conclusion
A black line on your Mac screen feels alarming, but you don’t have to guess what’s wrong or overpay to fix it. Start with the free checks: the screenshot test, the Accessibility Zoom setting, and the external monitor test. These three steps alone will tell you whether you’re dealing with a simple settings mix-up or a real hardware fault.
If it turns out to be hardware, run Apple Diagnostics to get an exact reference code. Walking into a repair conversation with that code means you know what’s broken before anyone tells you. From there, check your AppleCare+ status, get a real quote from Apple, and make your repair-or-replace decision with facts instead of fear.