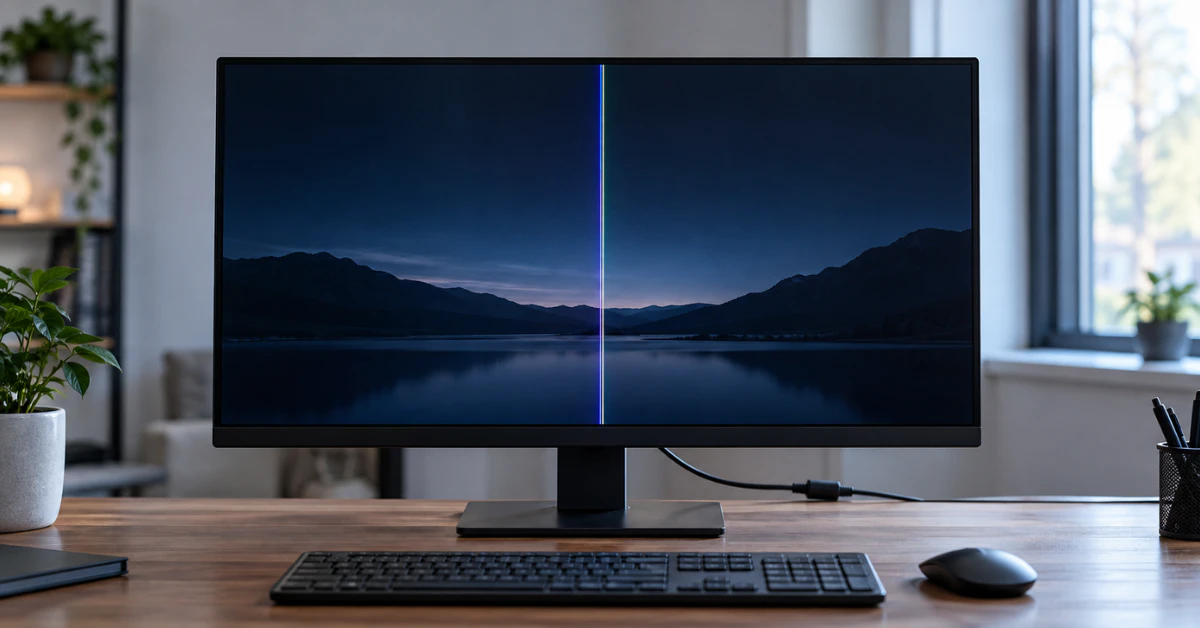
Push both ends of your video cable in firmly first. Still there? Unplug the video cable from the back of the monitor, but leave the power cord plugged in. Look at the floating “No Signal” box. If the line still shows up inside that box, your monitor panel has a hardware fault. If that box is clean, the problem is your cable, your display settings, or your graphics card, not the panel.
Under-5-Minute Triage Checklist
- Push in both cable ends. Do this at the monitor and at the PC. Loose cables cause a huge share of these cases.
- Try a different cable. A spare HDMI or DisplayPort cable rules out a damaged one in seconds.
- Switch ports. Move to another port on your graphics card or monitor in case one port is failing.
- Run the “No Signal” test. Unplug just the video cable and check if the line stays on that black screen.
- Test another screen if you can. Plug your PC into a different monitor, or plug your monitor into a different device, to confirm which part is really at fault.
Symptom Spotter: What Your Screen Lines Actually Mean (Single Line, Faint Grey Lines, or Dead Pixels?)
Not every line means the same thing. Match what you’re seeing to the table below before you try anything else.
| What you see | Most likely cause |
| One solid line, top to bottom | A break in the wiring path inside the panel, or a bad cable |
| Rainbow or multi-colored vertical bands | Loose cable connection, or a failing signal chip inside the monitor |
| Faint vertical lines you can barely see | Cable signal loss, or an early panel fault |
| Faint grey horizontal lines | Can be a real fault, or in some cases just how that panel is built (see below) |
| Lines that show up cold, then fade after 10 minutes | A wiring break that heat is temporarily bridging, not a fix |
| One tiny colored or black dot | A single dead or stuck pixel, not a line fault at all |
A dot is not a line. A dead pixel is one tiny point that stays black, white, or one color. A line defect is an entire column or row, running the full height or width of the screen. These need different fixes, so don’t treat a dead pixel guide as a cure for a line problem.
Watch out for the warm-up trap. If a line shows up right after you turn the monitor on, then fades as the screen warms up, that is not your monitor healing itself. Heat is making the metal expand just enough to reconnect a tiny broken link inside the panel. As the fault gets worse over time, this “healing” window usually gets shorter, not longer. Treat a fading line as a warning sign, not good news.
Some grey lines are just how the panel was built. In at least one real support case, Dell told a customer that faint grey horizontal lines on their IPS monitor were considered normal for that panel. Very faint, even grey banding on some IPS monitors can come from normal manufacturing tolerances rather than damage. But a line that is sharp, colored, high-contrast, or brand new is a real fault and should not be waved off.
Laptops and desktop monitors fail for different reasons. On a laptop, vertical lines often come from tiny cracks in the flex cable that bends every time you open and close the lid. A desktop monitor has no hinge and nothing to bend, so tips like “wiggle the screen” or “adjust the lid angle” simply don’t apply. If you have a desktop monitor, skip that advice entirely.
(Easiest Fix): Run the “No Signal” Cable Disconnect Test and Swap Ports
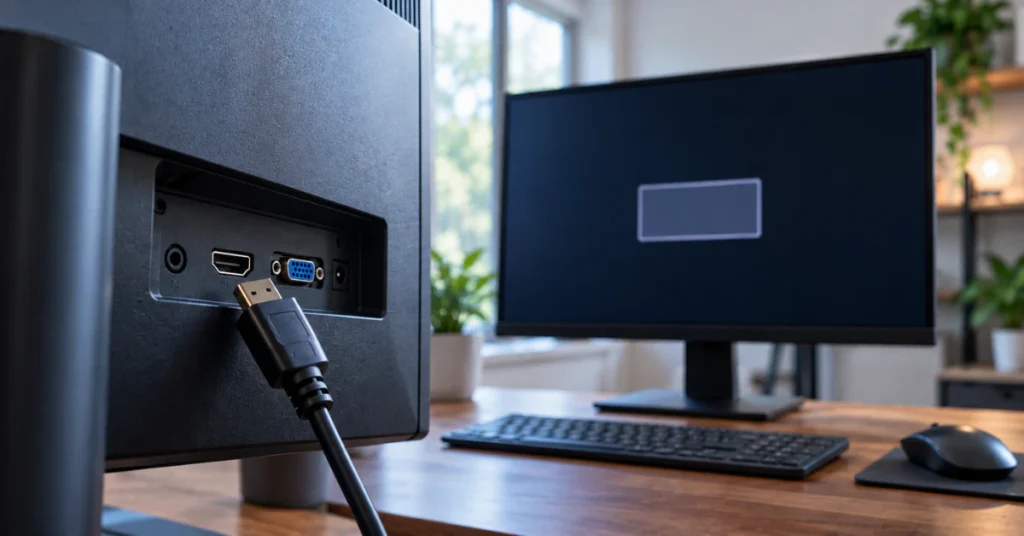
Start here before you touch a single setting on your computer. This step works the same way on LCD, LED, and OLED monitors, and it costs nothing.
First, leave your monitor’s power cord plugged in. Do not unplug that one. Now unplug the video cable only, the HDMI or DisplayPort cable running to your PC. Look at the floating “No Signal” box that appears.
According to LG’s official Help Library, this box tells you almost everything. If the vertical line still cuts through that “No Signal” screen, the fault is inside the monitor itself. LG’s guidance also notes that if you see several rainbow-colored vertical lines that stick around even after you firmly reconnect the cable, that also points to a hardware problem. In both cases, no driver update or setting change will fix it. At that point, the monitor needs a technician or a warranty replacement, not more troubleshooting at home.
If the “No Signal” box looks totally clean with no lines at all, good news: the fault is likely your cable, your settings, or your computer, not the panel. Work through these next:
- Unplug both ends of the video cable, then push each end back in firmly until it clicks or feels fully seated.
- Swap in a spare HDMI or DisplayPort cable if you have one. A worn cable is one of the most common causes of this exact problem.
- Try a different port on your graphics card, and a different port on the monitor, in case one port is starting to fail.
If you use a portable monitor: these screens often run on a single USB-C cable that has to carry both power and video at the same time. If that cable or your laptop’s port can’t supply enough power, thin vertical lines or flickering can show up even though nothing is actually broken. Plug in an external wall power adapter for the monitor, and try a certified high-speed USB-C video cable instead of a basic charging cable, then check the screen again.
For more official guidance, see LG’s support library.
(Software & Settings): Match Native Resolution, Lower Refresh Rates, and Update GPU Drivers
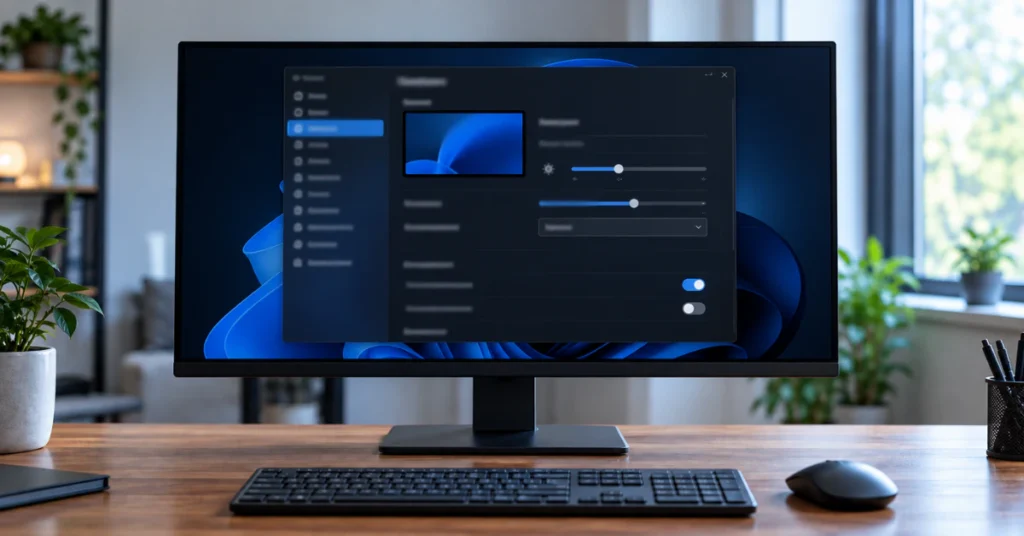
If the “No Signal” test came back clean, the fix might be sitting inside Windows. Work through these three checks in order.
Check your resolution first.
Go to Settings, then System, then Display. Look for the resolution dropdown and set it to the option marked “(Recommended).” This is your monitor’s native resolution, and running anything other than this can cause strange visual glitches that look a lot like a broken screen.
Check your refresh rate next.
While you’re still in Display settings, click into Advanced display settings and check the refresh rate listed there. Make sure it matches what your monitor is built for.
If you own a budget high-refresh gaming monitor, like an AOC or a similar value-priced 144Hz or 165Hz screen, and you’re seeing vertical lines only during fast motion or gaming, community forum reports (including case studies shared through Tom’s Hardware and cited by monitor support pages) show that stepping the refresh rate down from 144Hz to 60Hz can sometimes make the lines disappear. This is a forum-tested workaround, not an official fix from any manufacturer. It suggests the cable or the monitor’s internal timing chip is struggling to keep up at the higher speed.
Some users on gaming forums have also reported that turning off “Use HDR” in Windows Display Settings makes faint lines much harder to notice day to day. Again, this is just a workaround shared by other users, not a real repair.
Here’s the important part: if your monitor is brand new and still under warranty, don’t settle for these workarounds long term. Lowering your refresh rate or turning off HDR only hides a manufacturing defect. Use the mask short term if you need your screen for work today, but file a warranty claim or return request while you still can.
Update or roll back your graphics driver.
Open Device Manager, click Display Adapters, right-click your graphics card, and choose Update driver. If the lines started right after a recent driver update, try rolling back to the previous driver instead. Dell’s own troubleshooting guidance lists a corrupted graphics driver as a real, verified cause of both horizontal and vertical lines, so this step is worth doing even if you’re not sure it’s the problem.
(Hardware Isolation): Run a Built-In Self-Test (BIST), Swap Devices, or Stress-Test Your GPU
Here’s the question that shows up over and over on tech forums: is it the graphics card, or is it the monitor? These three checks will give you a real answer.
Run the monitor’s built-in self-test.
Most monitors can test themselves without any help from your PC. This runs a full-screen cycle of solid colors, like red, then green, then blue, straight from the monitor’s own memory. If a vertical line shows up during this test, the panel itself is at fault, since your computer isn’t even involved.
Dell calls this test “BIST.” Other brands don’t use that name or the same button steps. LG, AOC, Acer, and Samsung each use their own on-screen menu path and button combination for this same kind of test. Don’t guess at random button combos on your specific monitor. Look up your model’s manual (a quick search for your model number and “manual” usually finds a PDF) to find the exact steps.
Swap the monitor onto a different device.
If you have access to a laptop, a streaming stick, or a game console, plug your monitor into that instead. If the line disappears, your original computer’s graphics card is the problem. If the line follows the monitor to the new device, the monitor itself needs repair or replacement.
No second screen or computer? Use these two solo tricks.
Take a normal screenshot of your desktop while the line is showing, then look at that screenshot on your phone. If the line shows up inside the screenshot, your graphics card or software is creating it, since a screenshot only captures what your PC is sending out, not what the monitor is displaying. If the screenshot looks perfectly clean, the fault is in the monitor’s hardware.
You can also download a free GPU stress-testing tool like OCCT or FurMark. These programs push your graphics card hard on purpose. If new lines, flickering, or odd colors show up only while the stress test is running, your graphics card may be overheating or failing, rather than your monitor.
Inside the Panel: What Causes Vertical vs. Horizontal Lines (T-Con, COF, and ACF Explained Simply)
Once cables, settings, and drivers are ruled out, the answer is hiding behind the glass. Here’s what’s really going on, in plain terms.
Think of the T-Con board as the monitor’s traffic cop. Its full name is Timing Controller, but all it really does is send tiny electrical signals telling each part of the screen exactly when to light up. Those signals travel down a thin, flat ribbon cable to a row of tiny chips called COF chips, short for Chip-on-Film. These chips are glued right onto the edge of the glass screen using a special heat-activated tape called an ACF bond, which stands for Anisotropic Conductive Film. Think of it as super-strong heat glue that carries electricity through it. Each of these chips is in charge of lighting up one vertical column of pixels running from the top of the screen to the bottom.
Here’s the problem. Every time you turn your monitor on, it warms up slightly. Every time you turn it off, it cools back down. This heating and cooling, repeated day after day, slowly stresses that heat glue. Eventually, a microscopic connection point inside that glue lifts away from the glass. When that happens, the entire column of pixels connected to it loses its signal at once. That’s why a single, clean vertical line can suddenly appear with no drops, no impact, and no warning.
This is also why vertical lines and horizontal lines are not the same problem. A vertical line often traces back to that ribbon cable, the COF chip, or the T-Con board itself, and in some cases a technician can fix it by reseating the ribbon or swapping the T-Con board. A horizontal line usually points to something deeper: a failure inside the liquid-crystal glass layer itself. That layer isn’t designed to be opened and repaired. So if you’ve already ruled out cables and settings and you’re still seeing horizontal lines on your monitor screen, replacement is usually the realistic answer, not a repair.
STOP Before You Grab a Screwdriver: High-Voltage Shock Risks and Warranty Warnings
Warning: Do not open your monitor’s casing. Capacitors inside the power board can hold a dangerous electrical charge long after the monitor is unplugged from the wall. This isn’t a small tingle. Only trained electronics technicians with the right tools should open the back panel. This is not a safe at-home DIY project, no matter how simple it looks in a video.
There’s also a money reason to stop here. Breaking the seal on your monitor’s rear casing will almost certainly cancel your manufacturer warranty on the spot. This is different from removing the outer stand to pack the monitor for shipping, which is normal and doesn’t affect your warranty at all. Opening the actual case is the line you don’t want to cross while you’re still covered.
One more thing worth knowing before you’re tempted. Plenty of online videos make it sound simple: just swap the T-Con board and you’re done. But many modern, ultra-slim monitors don’t even have a separate T-Con board you can pull out and replace. The parts are often built directly into the panel itself. That means opening the case can leave you with a voided warranty, a shock risk, and nothing you can actually fix on your own anyway.
Repair vs. Replace: Real Monitor Repair Costs, Lifespan Math, and Warranty RMA Tips
Here’s the math that saves you from getting ripped off. Industry cost estimates put professional monitor repair somewhere between $60 and $400, with most jobs landing around $120 to $250, and only if the shop can even find the right replacement part. A brand-new budget or midrange monitor usually costs $150 to $300. That gap changes everything about what you should do next.
Still under warranty? File your RMA claim right now, before that return window closes. Take a clear photo of the line showing up on the monitor’s built-in self-test or “No Signal” screen. That photo is your proof. It stops support from blaming your PC or brushing off a sharp, obvious line as “normal.”
Out of warranty on a budget or midrange monitor? If your $180 monitor needs a $150 panel repair, just buy a new one. You’re paying almost full price to fix something that’s likely to fail again anyway.
Out of warranty on a high-end or large display? Here, a $120 to $250 board-level repair actually makes sense, but usually only on a pricier $600-plus ultrawide or creator monitor, where replacement would cost far more than repair.
Keep the bigger picture in mind too. Industry estimates put average LCD monitor lifespan at 30,000 to 60,000 hours, or roughly 10 to 20 years at 8 hours a day of use. And if you’re shopping secondhand, skip any monitor described as having “just one thin line.” Thermal cycling almost always causes more lines to show up later, not fewer.
Frequently Asked Questions
How to fix a monitor screen with vertical lines?
Unplug just the video cable and check the “No Signal” screen. Line still there? The panel is faulty. Line gone? Reseat the cable, update your graphics driver, and match your resolution and refresh rate to the monitor’s native settings.
How can I fix vertical lines on my desktop screen?
Plug your desktop’s monitor into a laptop or console, or connect a second monitor to your PC. If the line follows the monitor, the panel is broken. If it stays on your original screen only when connected to your PC, the graphics card or cable is the problem.
How to fix display vertical lines?
Follow three steps in order. First, isolate the cable and port by swapping both. Second, isolate the GPU by updating drivers and checking settings. Third, isolate the panel itself using the monitor’s built-in self-test. Wherever the line disappears, that’s your answer.
What are the signs of a failing computer monitor?
Watch for cracks or discoloration, a growing number of dead pixels, washed-out colors or random brightness shifts, worsening flicker, lines or patterns that won’t go away, unresponsive brightness or contrast buttons, and a slow or blank screen at power-up.
What is the average lifespan of a computer monitor?
Industry estimates put average LCD monitor lifespan at 30,000 to 60,000 hours of use, or roughly 10 to 20 years at 8 hours a day. This is a general estimate, not a manufacturer guarantee, and depends on brightness settings and heat.
Is it worth repairing a monitor?
Usually only if you’re still under warranty, the fix is cheap (a cable or board swap), or you own a pricey high-end display. Repairs run $120 to $250 on average, while a new budget or midrange monitor often costs just $150 to $300.
Conclusion
A line on your screen feels alarming, but the fix is almost never a mystery once you test it in order. Start with the cable, move to your settings and drivers, then let the monitor’s own self-test tell you the truth about its hardware. Most cases end at step one or two, with nothing more than a cable swap or a driver update. When the fault really does sit inside the panel, you now know exactly what that means, what it costs to fix, and when replacing the monitor is the smarter money move. Keep this checklist bookmarked. The next time a line shows up on any screen in your house, you will know exactly where to start.