In most cases, a MacBook Pro screen burn mark is not permanent damage. It’s called image persistence, a temporary ghost image left by something that stayed on the screen too long. The fix is simple: turn the display off completely and let it rest overnight. Most marks fade within a few hours.
Here’s the exact order to follow, and why it matters.
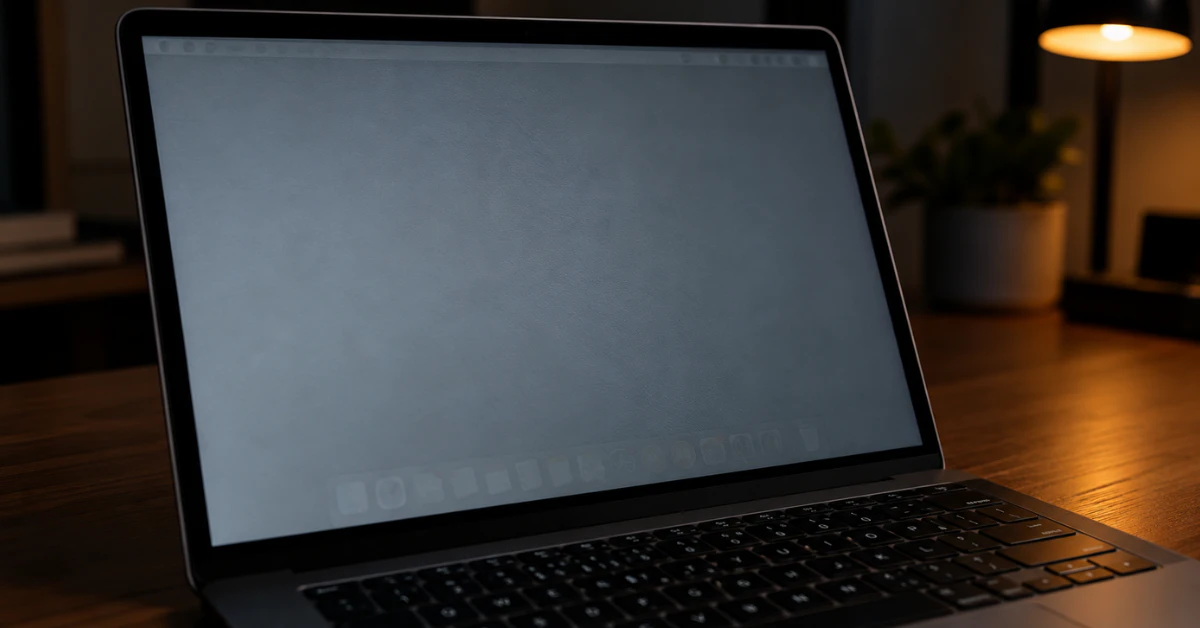
First, don’t jump straight to brightness settings or screen savers. Check what you’re actually dealing with. Pull up a plain white, then a plain gray, then a plain black screen. If the shadow shows up no matter what’s on screen, that’s a strong sign of image persistence, not damage.
Next, shut the display off completely. Not just dimmed. Off. Leave it that way for several hours, ideally overnight.
If the mark is still there after that rest period, it points to something more permanent. That’s when it’s worth reading further to figure out what’s really going on.
The Diagnostic Matrix: Identifying What’s Actually on Your Screen

Not every mark on your screen means the same thing. Here’s how to sort them out fast.
| What you see | Likely cause | Is it permanent? | What to do |
| A faint shadow of the menu bar or Dock | Image persistence | No, usually fades in hours | Rest the display, then try the steps below |
| A trailing image when windows move | Ghosting | No, usually temporary | Restart your Mac, check for stuck apps |
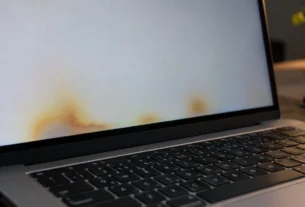
| A patchy stain that won’t wipe off | Coating damage or residue | Sometimes | Clean gently, may need repair if coating is worn |
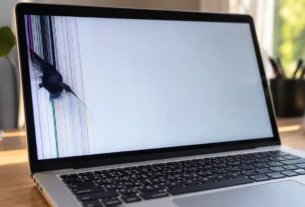
| A vertical bright band at the bottom of the screen | Backlight hardware issue | Often yes | Needs professional repair |
| A small round mark near the hinge | Pressure damage | Often yes | Needs professional repair |
Some articles floating around online describe these marks as “thermal damage” or say the screen is “smoldering.” That’s not accurate, and it’s not how these displays work. A MacBook Pro screen is not catching fire or melting from the inside. Image persistence happens because pixels take a moment to reset after showing the same thing for too long. It looks alarming, but it’s a normal display behavior, not a safety problem.
There’s one more thing worth ruling out before you assume the worst. Two built-in features, True Tone and Night Shift, adjust your screen’s color temperature automatically based on lighting or time of day. If you notice a slight color shift or warm tint in one part of the screen, it might just be one of these features doing its job, not a sign of damage.
To check, open System Settings, then Displays, and look at whether True Tone or Night Shift is turned on. Try turning them off for a few minutes and see if the coloring you noticed goes away. If it does, your screen is fine.
Once you’ve matched your symptom to the table above and ruled out True Tone or Night Shift as the cause, you’ll have a much clearer idea of whether you’re dealing with something temporary or something that needs a repair shop.
The Science: Why Your Current MacBook Can’t Get True Burn-In
Here’s the real reason true burn-in almost never happens on your current MacBook Pro.
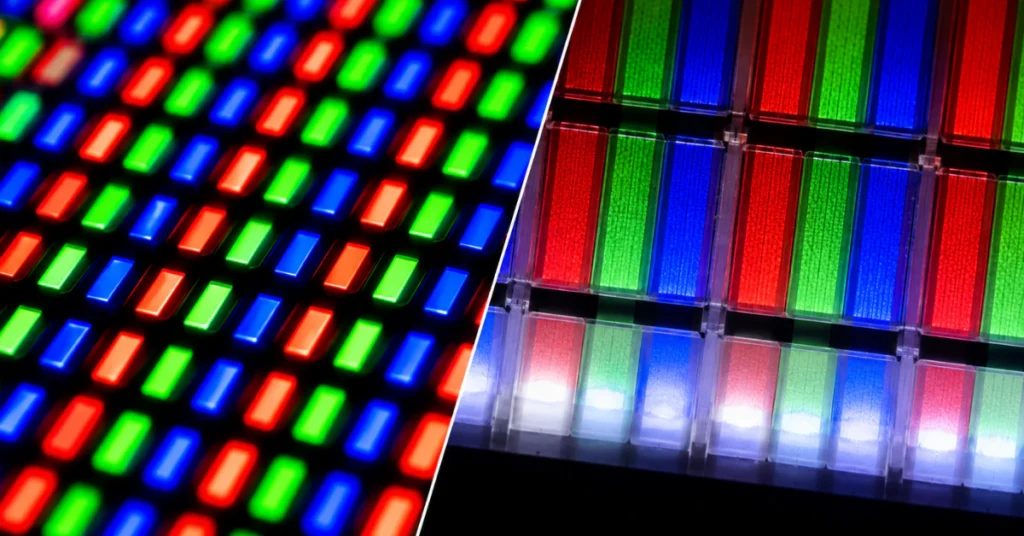
Burn-in on a phone or TV happens because those screens use OLED technology. In an OLED screen, every single pixel makes its own light. If the same pixel lights up the same way for months or years, it can wear out faster than the pixels around it. That uneven wear leaves a permanent mark, even after you change what’s on the screen.
Your MacBook Pro doesn’t work that way. Right now, every MacBook Pro uses either a regular LED-backlit LCD screen or a mini-LED screen (Apple calls this “Liquid Retina XDR” on higher-end models). Both types keep the light source separate from the actual pixels. The backlight shines through a layer of liquid crystal, and that layer doesn’t wear out the same way OLED pixels do. Without a self-lighting pixel to age unevenly, true burn-in isn’t really possible on these screens.
Interestingly, Apple’s own support page about this exact issue, called “Avoiding image persistence on Apple displays,” is now archived. That means Apple isn’t actively updating it anymore. It still lays out the basics correctly (image persistence is temporary and normal on IPS displays like these), but it’s a good reminder that this isn’t a new problem Apple is scrambling to fix.
That said, this “your MacBook can’t burn in” rule has an expiration date. Reports point to Apple launching its first OLED MacBook Pro around the fourth quarter of 2026. Once that happens, MacBook Pro screens will finally use the same self-lighting pixel technology as OLED phones and TVs, and with it, a real (though usually small) risk of true burn-in. If you’re shopping for a new MacBook Pro later this year, that’s worth keeping in mind.
Step-by-Step Fixes for Image Persistence (Easiest to Hardest)

Here’s how to actually clear up a shadow or ghost image, starting with the easiest steps first.
Confirm it’s content-dependent
Before changing any settings, do a quick test. Pull up a plain white screen, then a plain gray screen, then a plain black screen. If the shadow shows up the same way no matter what’s behind it, that confirms image persistence. If it only shows up with certain colors or in certain apps, it might be something else, like a display cable issue, and settings tweaks won’t help.
Let the display rest
This is still the single most reliable fix. Turn the display off completely (not just dim it) and leave it off for several hours, ideally overnight. Most image persistence clears up completely during this rest period. If you’re in a hurry, even two or three hours can help, but overnight gives the best results.
Adjust your sleep settings
The less time static content sits on your screen, the less chance it has to leave a shadow. Shorten how quickly your display turns off when you step away.
- Open System Settings
- Click Lock Screen
- Find the option for turning the display off after a period of inactivity
- Set it to a shorter time, like a few minutes
A screen that goes dark sooner just doesn’t sit on the same image long enough to cause problems.
Turn on a screen saver
A moving screen saver keeps the same static image from sitting in one place for too long.
- Open System Settings
- Click Wallpaper
- Choose Screen Saver
- Pick one that moves or changes, rather than a still image
Auto-hide your menu bar
The menu bar is one of the biggest culprits, since it sits in the exact same spot on your screen all day, every day.
- Open System Settings
- Click Control Center
- Turn on Automatically hide and show the menu bar
Do the same for your Dock if you use it constantly, so it’s not locked in the same spot for hours at a time.
You can find Apple’s own settings guide here if you want to double-check any of these steps: Apple System Settings Guide.
One thing to skip entirely
You might see ads or blog posts recommending a “pixel refresher” app to fix a MacBook screen. Skip these. Apple doesn’t build or officially support any pixel refresh tool for Mac displays, and there’s no verified, documented software that actually does what these apps claim. At best, they do nothing. At worst, you’re installing something unverified on your Mac for no real benefit. Stick to the settings changes above, which use real, built-in features.
If you’ve done the rest test, waited it out overnight, and adjusted these settings, and the mark is still sitting there in the exact same spot, that’s your signal to stop troubleshooting on your own. The next section covers what that means and when it’s time to get it looked at professionally.
How to Safely Clean Smudges (Without Ruining Your Display)
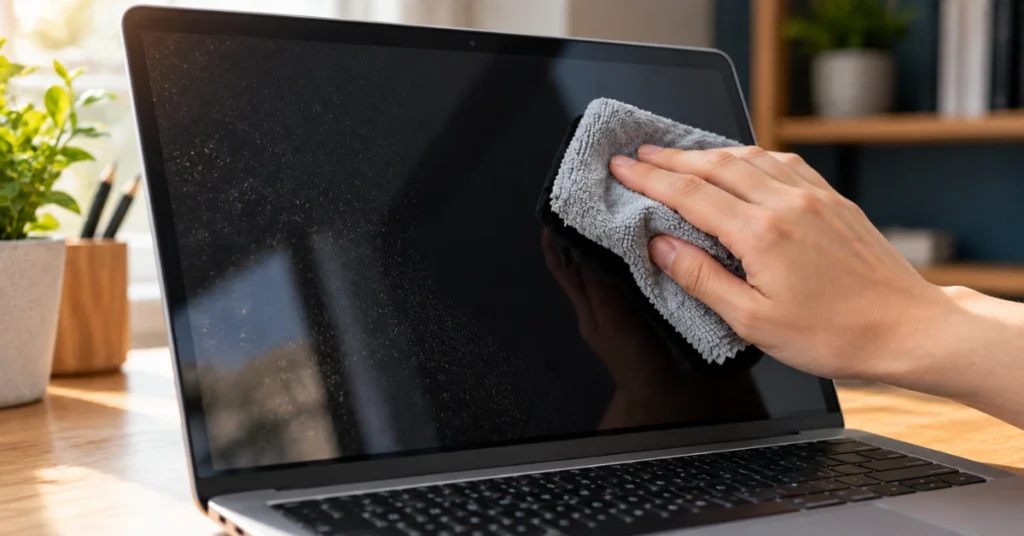
Sometimes what looks like a burn mark is just a smudge, dust, or cleaning residue sitting on the surface. Before you assume the worst, give the screen a proper, safe clean.
Before you start, this matters:
Always shut your MacBook down completely and unplug it from any power source before cleaning the screen. Cleaning a screen while it’s powered on or plugged in raises the risk of electrical damage if any moisture gets into the display or ports. Never skip this step.
What to actually use:
- Shut down your Mac and unplug it.
- Take a soft, lint-free cloth and dampen it with water only.
- Gently wipe the screen.
- For smudges that won’t come off with water alone, dampen the cloth with a 70% isopropyl alcohol solution instead. Never apply it straight from the bottle.
What to never use:
Some common household cleaners will damage your screen’s coating, sometimes permanently. Avoid all of the following:
- Acetone
- Ammonia
- Window or household glass cleaners
- Hydrogen peroxide-based cleaners
- Abrasive materials or rough cloths
And one rule matters more than any other: never spray liquid directly onto the screen. Always dampen the cloth first, away from the laptop, then wipe. Liquid that seeps into the edges of the display can cause damage that’s much worse than the smudge you were trying to remove.
Full details are available on Apple’s own support page: How to clean your Apple products.
When to Stop Trying: Hardware Defects and Warranty Coverage
If you rested your screen overnight, tried the settings changes, and the mark is still sitting there in the same spot, it’s not image persistence anymore. At that point, you’re dealing with something that needs a real repair, not another software tweak.
Before you search Reddit for answers, it helps to know what Apple has actually covered in the past, because two older issues get mixed up with burn-in constantly.
Staingate was a real problem, but an old and closed one. It affected the anti-reflective coating on Retina MacBook Pro screens from mid-2012 through mid-2015 (and some MacBook Air units after that). The coating wore off or peeled, leaving marks that looked like stains. Apple ran a repair program for it, but that program has expired. It has nothing to do with image persistence or burn-in on current models.
The 13-inch MacBook Pro Display Backlight Service Program is a separate issue entirely. It covered specific 2016 models sold between October 2016 and February 2018 that showed bright vertical bands or total backlight failure. That’s a hardware flex-cable problem, not a burn-in issue, and that program has also expired.
If you’ve read frustrated stories online about Genius Bar staff giving inconsistent answers on cosmetic screen issues, that frustration is understandable. Apple typically covers manufacturing defects under warranty or through a named program like the two above. But a general cosmetic mark on an out-of-warranty Mac isn’t automatically covered, and outcomes can vary by store and by technician.
One important warning: never attempt to open your MacBook or replace the screen yourself. The battery sits close to internal components, and mishandling it carries a real risk of injury or fire. Doing this yourself will also void any remaining warranty or AppleCare coverage. If your screen hasn’t recovered, book an appointment with Apple or an Apple Authorized Service Provider for a proper assessment instead.
Frequently Asked Questions
Will screen burn go away on its own?
In most cases, yes. What looks like burn-in is almost always temporary image persistence. Turn the display off completely and let it rest overnight, and it should fade on its own. If it’s still there after a full overnight rest, it’s likely something more permanent.
How do you get rid of smudge marks on a MacBook screen?
Shut down and unplug your Mac first. Wipe the screen with a soft, lint-free cloth dampened with water only. For tougher smudges, use a cloth dampened with 70% isopropyl alcohol instead, never applied straight from the bottle. Never use acetone, ammonia, window cleaners, or hydrogen peroxide, and never spray liquid directly onto the screen.
Is Staingate still a problem?
No. Staingate affected the anti-reflective coating on Retina MacBook Pro models from mid-2012 through mid-2015, along with some later MacBook Air units. Apple’s repair program for it has expired, and it has nothing to do with current MacBook Pro screens or with burn-in.
Do MacBooks get burn-in?
Not in the true, permanent sense, at least not right now. Current MacBook Pro screens use LCD or mini-LED technology, which keeps the backlight separate from the pixels. That means there’s no self-lighting pixel to wear out unevenly, so real burn-in isn’t really possible. What people usually see instead is temporary image persistence. That’s expected to change once Apple’s first OLED MacBook Pro arrives, reportedly around the fourth quarter of 2026.
How to fix MacBook screen burn?
Start with a plain white, gray, and black screen to confirm the mark shows up no matter what’s displayed. Then turn the display off completely and let it rest overnight. Shorten your sleep settings in Lock Screen, turn on a moving screen saver under Wallpaper, and auto-hide your menu bar in Control Center. If the mark is still there after all that, it’s time for a professional assessment rather than more troubleshooting.
Can screen burn be reversed?
Image persistence, yes. It almost always fades once the screen rests or shows different content. True burn-in is a different story. That’s permanent pixel aging, and it doesn’t reverse on its own. Apps that claim to “fix” burn-in with a pixel refresh don’t actually repair aged pixels, and there’s no verified tool of that kind for Mac. If a mark is truly permanent, a professional screen replacement is the only real fix.
Conclusion
A MacBook Pro screen mark feels alarming the moment you spot it, but for almost everyone reading this, it’s temporary image persistence, not a broken display. Run the white, gray, and black screen test, let the display rest overnight, and tighten up your sleep, screen saver, and menu bar settings so it doesn’t come back. If the mark survives all of that, you’re not dealing with software anymore, and a professional assessment is the right next move, not a DIY teardown or an unverified pixel refresh app. Current MacBook Pro screens simply aren’t built the way OLED screens are, so true burn-in stays rare, at least until Apple’s OLED models arrive.