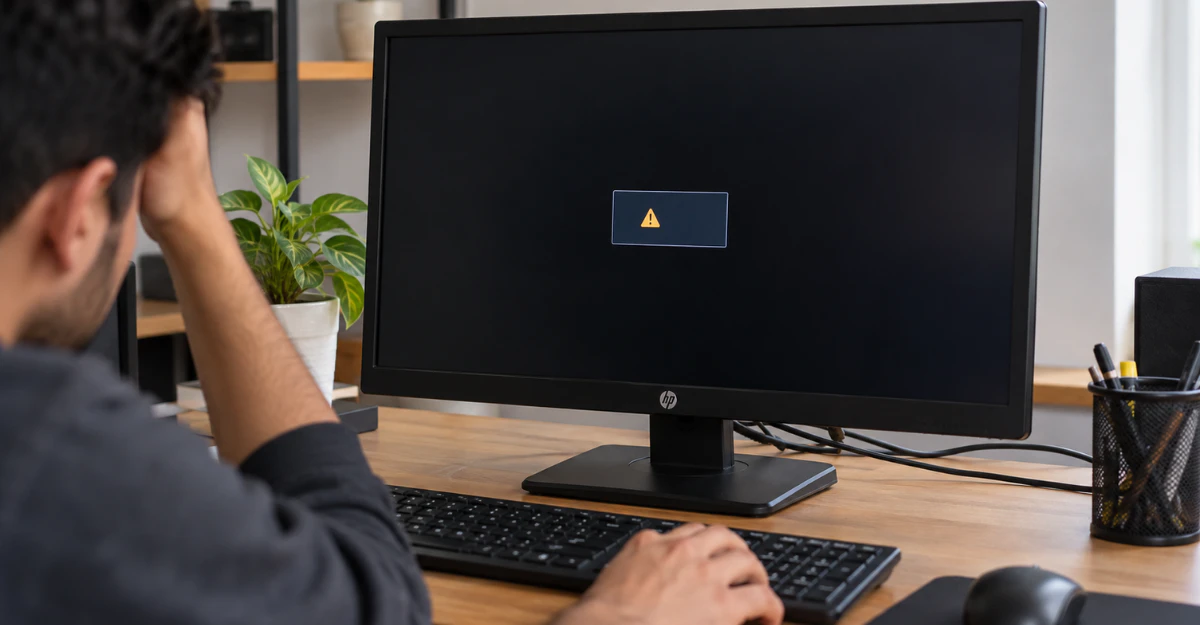
Input Signal Out of Range” means your PC is sending your HP monitor a resolution or refresh rate the screen can’t handle. Two fast fixes: unplug the monitor’s power cord for 5 seconds, then plug it back in. If that doesn’t work, go to your Windows sign-in screen, hold Shift, and click Restart. This opens Enable low-resolution video mode, so you can reset your display settings.
Safety & Scope Note: Good news first: your monitor isn’t broken. It’s protecting itself from a signal it can’t display. No fix here needs you to open the monitor or your PC case, so there’s no shock risk and nothing that voids your warranty. The cable checks below work on any monitor. The software steps are built for Windows 10 and 11 PCs. Game consoles and Macs use their own display reset methods.
Why Your HP Monitor Demands a Specific Resolution (1600×900, 1920×1080 at 60Hz)
That number on your screen isn’t some random error code. Your HP monitor is actually telling you something helpful: the exact resolution and refresh rate it can handle.
So if you see input signal out of range change settings to 1600×900 60hz, that’s your monitor saying “1600×900 at 60Hz is what I support, but you’re sending me something else.” The same goes for input signal out of range change settings to 1366×768 – 60hz hp monitor, input signal out of range change settings to 1280×1024 60hz, input signal out of range change settings to 1440×900 60hz, and input signal out of range change settings to 1920×1080 60hz. Each one is your specific model reporting its own native limit, not a generic bug.
This happens because your PC’s video adapter is sending a signal that goes past what the monitor’s hardware can scan and display. Once you get back into Windows, you’ll want to set your display to match that exact number.
Before you try any fix, figure out where the problem starts:
- Screen stays black before Windows even loads (no startup logo)? This usually points to a cable, adapter, or graphics card connection issue. Start with Fixes 1 and 2.
- Startup logo shows fine, but the screen blacks out once Windows loads? This points to a Windows or graphics driver setting. Jump to Fixes 3 through 5.
Diagnostic Roadmap: Out of Range Monitor Fix (From Easiest to Advanced)
Most forum threads jump straight to Safe Mode. But that skips the 30-second checks that often clear this up without touching a single setting. Work through this table from top to bottom. Stop as soon as your screen comes back.
| What Happened Right Before the Error | Best Fix to Try First | Difficulty / Hardware Risk |
| Monitor woke from sleep or just glitched on its own | Fix 1: 5-Second Power Cycle & OSD Reset | Easy / Zero risk |
| You connected a new PC, laptop dock, or cable | Fix 2: Cable/Port Swap & EDID Handshake Reset | Easy / Zero risk |
| You changed resolution or Windows just updated | Fix 3: Windows 10/11 Low-Resolution Video Mode | Moderate / Software-only |
| You adjusted gaming settings or ran an optimizer tool | Fix 4 & 5: AMD/NVIDIA Control Panel & Driver Rollback | Moderate / Software-only |
| Monitor caps at 1024×768 on every PC you try | Advanced Fix: EDID Degradation Check / HP Support | Advanced / Escalation |
This out of range monitor fix table works as a full roadmap. Start at the row that matches your situation, and only move down if it doesn’t solve things.
Power-Cycle and Factory Reset Your HP Monitor (Easiest & Safest)
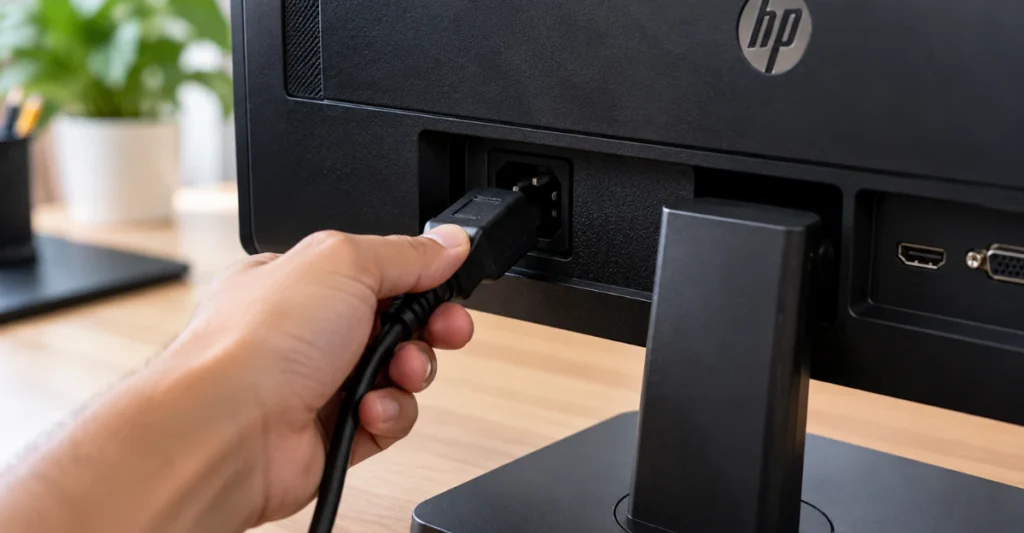
Try this before touching your computer at all.
Step 1: The 5-second power cycle. Turn off your HP monitor. Unplug its power cord, either from the wall or from the back of the display, and leave it unplugged for at least 5 seconds. Plug it back in and press the power button. This forces the monitor to detect the video signal fresh, which clears up plenty of one-time glitches on its own.
Step 2: Run a factory reset on the monitor. Look for the Menu button on the bezel or back of your HP monitor. Press it, then look for Information, Management, or Settings, and choose Factory Reset. This wipes any odd settings the monitor picked up and puts it back to its default state.
One thing to keep in mind: button placement and menu wording aren’t the same across every HP monitor. Older office models like the 2009v, 2011X, or S1931a lay things out differently than a newer OMEN gaming display. If the “Out of Range” box is covering the on-screen menu so you can’t navigate it, skip ahead to Fix 2.
Swap Cables, Ports, or Laptop Docks to Clear an EDID Handshake Failure
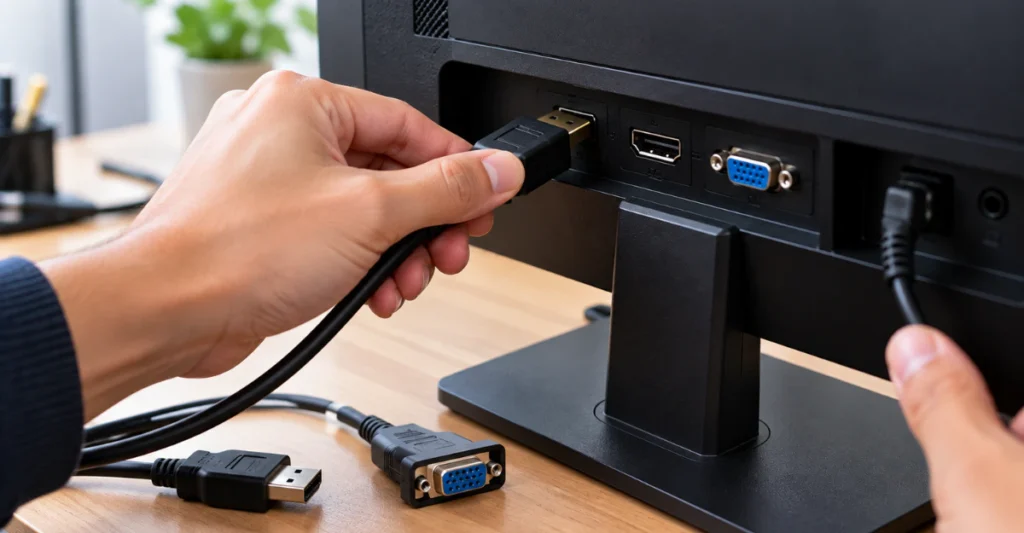
“Just check your cable” isn’t very helpful advice on its own, so let’s get specific.
Here’s what’s actually happening. Your HP monitor sends a tiny file to your PC over the video cable. It’s called an EDID handshake, and it’s just the monitor introducing itself, telling Windows exactly which resolutions and refresh rates it supports. If the cable is loose, damaged, or running through a flaky adapter, that handshake can get scrambled. Windows ends up guessing instead of reading the real data, and it can guess a resolution your monitor can’t display. This is also why the screen can go black before you even reach the BIOS.
Try these three things:
1. Reseat or swap the cable and port. Unplug both ends of the video cable, whether it’s HDMI, DisplayPort, DVI, or VGA. Try a different port on your graphics card if you have one open.
2. Bypass docks and VGA converters. If you’re using a laptop through a USB-C hub or docking station, plug the monitor straight into the laptop’s HDMI port instead to test it. If you have an older HP monitor that only takes VGA, know that HDMI-to-VGA adapters can cause timing mismatches between different signal standards, and that alone can trigger this error.
3. Run the two-device swap test. Plug your HP monitor into a different PC or laptop. Or plug your current PC into a different monitor or TV. If the HP monitor works fine elsewhere, the monitor itself is fine. Head to Fix 3 to reset the handshake on your main PC.
Boot Windows 11/10 into “Low-Resolution Video” Mode (Why Pressing F8 Fails)
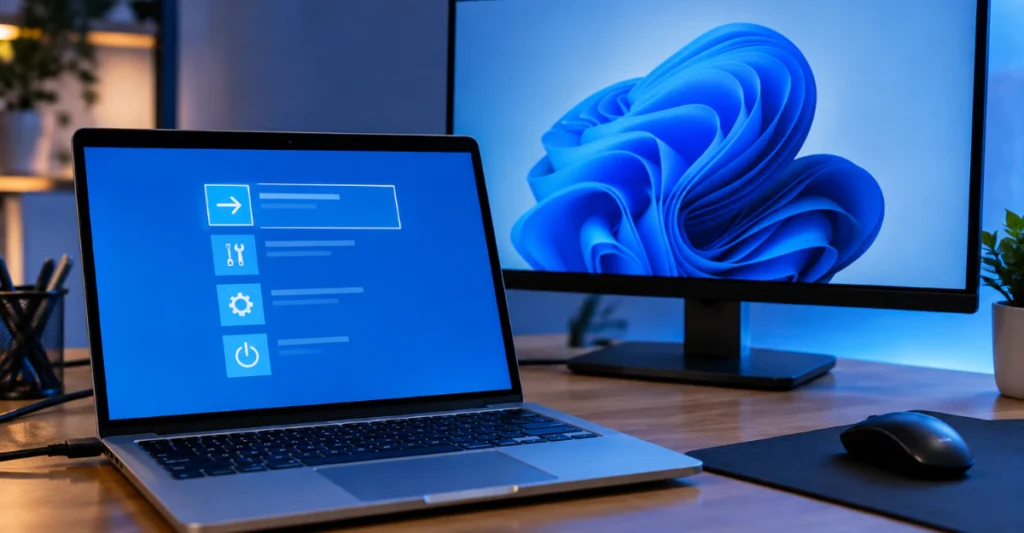
If you searched something like input signal out of range hp monitor windows 11 and then tried mashing F8 like every old forum thread tells you to, here’s why nothing happened: it isn’t your fault, and it isn’t broken. F8 simply doesn’t work anymore.
Older Windows versions gave you a wide window to press F8 during startup and jump into Safe Mode. Windows 10 and 11 don’t work that way. Modern PCs use UEFI firmware with Fast Boot, which starts up so quickly that the window for your keystroke to register shrinks to under 200 milliseconds. On top of that, Microsoft turned off the classic F8 menu by default. Only Windows 7 and earlier reliably use F8 out of the box.
So what actually works? Microsoft built a specific tool for exactly this problem, called Enable low-resolution video. It loads Windows using your normal graphics driver, but at a low, safe resolution and refresh rate, so your screen comes back on and you can fix your display settings properly.
Here’s how to get there:
- Get to your Windows sign-in screen. If your screen goes black before that point, connect a spare monitor or TV temporarily so you can see what you’re doing.
- Hold down the Shift key on your keyboard while you click Power, then Restart.
- When the blue recovery screen shows up, go to Troubleshoot, then Advanced options, then Startup Settings, then Restart.
- A numbered list will appear. Press the number key next to Enable low-resolution video (usually F3 or 3).
- Once Windows loads, go to Settings, then System, then Display. Open Advanced display settings for refresh rate. Set the exact resolution and 60Hz that your HP monitor asked for, and click Keep changes.
Revert Custom Overrides in AMD/NVIDIA Control Panels and Third-Party Tools
Here’s a frustrating pattern some readers run into. You reset the resolution in Low-Resolution Video mode, everything looks fine, you reboot normally, and the error slaps you right back in the face. That usually means Windows Display Settings isn’t the whole story.
If your PC has a dedicated graphics card, its own software can hold a separate override that ignores what you set in Windows. Menu names differ depending on your brand: AMD calls it AMD Software: Adrenalin Edition or Catalyst Control Center, while NVIDIA calls it NVIDIA Control Panel. Intel graphics have their own settings app too. While you’re in Low-Resolution Video mode, or using a second monitor, open your GPU’s control panel. Look for any custom resolution, virtual super resolution, or forced high refresh rate. Delete it and set scaling and refresh rate back to default.
There’s another trap worth knowing about. Sometimes the problem isn’t a setting you meant to change at all. Documented cases show that third-party driver-reset tools and automated “fix-it” resolution detectors, including older Microsoft utilities, can misread what a monitor actually supports and lock a perfectly healthy setup into an unsupported mode. If you ran anything like that recently, before or after the error started, uninstall it or undo whatever change it made.
Update or Roll Back Your Graphics Card Driver in Safe Mode
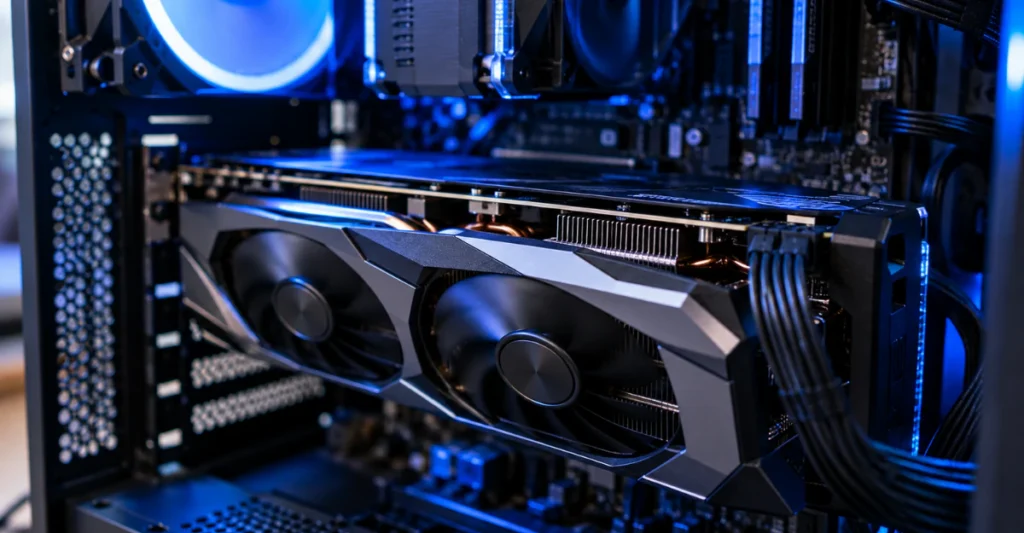
If Low-Resolution Video mode gets your screen back but the error returns on every normal boot, the actual graphics driver is likely the problem. This usually happens right after a Windows Update or a fresh graphics driver install.
Get there the same way as before: hold Shift and click Restart, then go to Troubleshoot, Advanced options, Startup Settings, and Restart. This time, press 4 or F4 for Safe Mode (or 5/F5 for Safe Mode with Networking).
Once you’re in, open Device Manager and expand Display adapters. Right-click your graphics card and choose Properties, then the Driver tab.
- If the error started right after an update, click Roll Back Driver.
- If there’s no rollback option, click Uninstall Device. Windows will load a basic display driver on reboot, and you can then install a fresh driver from AMD, NVIDIA, Intel, or HP Support.
Advanced Fixes: Aging HP Monitor EDID Chips, Legacy Command Prompts, and Warranty Help
If you’ve worked through Fixes 1 through 5 and nothing has stuck, you may be dealing with something inside the monitor itself.
The aging EDID chip issue. Every monitor stores its list of supported resolutions on a small internal chip. Over time, this chip can start failing. One documented HP case involved an OMEN by HP 27 monitor that stopped offering anything above 1024×768, across several different PCs, GPUs, and cables. Yet that same panel displayed 1920×1080 without a problem when it was first set up through a different monitor. This points to the EDID chip losing its ability to report the panel’s true limits, not the screen itself being broken. HP’s support site may not always have a separate driver file to override this.
Advanced options for experienced users. Custom Resolution Utility (CRU) is a third-party tool some users turn to for manually defining a resolution when EDID reporting fails. It’s a community workaround, not something HP officially endorses, but it’s a software-only change and won’t affect your hardware warranty. Some users also re-enable the old F8 boot menu permanently through an Administrator Command Prompt using bcdedit, though this is only worth doing if you’re comfortable with command-line tools.
When to stop and call HP. If your monitor fails the two-PC swap test and a factory reset does nothing, stop here. Don’t attempt any physical repair. Contact HP Support for warranty service or a replacement.
Frequently Asked Questions
What does input signal out of range mean on a monitor?
It means your PC’s video adapter is sending a resolution or refresh rate that goes past what the monitor’s hardware can scan and display. The monitor shuts off the image to protect itself instead of trying to show a signal it can’t handle.
How to fix HP monitor input signal not found?
“Not found” is different from “out of range.” It means zero signal is reaching the screen at all. Fully seat the video cable, press the monitor’s physical Input or Source button to pick the right input (HDMI, DP, or VGA), and power-cycle the screen.
How to fix a monitor that says out of range?
Work through this order: power-cycle the monitor for 5 seconds, check or swap the cable and port, test the monitor on a second PC or a second monitor, and if it’s still stuck, use Shift + Restart, then Troubleshoot, Advanced options, Startup Settings, and Enable low-resolution video to lower the resolution.
How to change input signal out of range?
Boot Windows temporarily using Enable low-resolution video mode, or connect a second display so you can see what you’re doing. Then open Settings, System, Display, and set the exact resolution and 60Hz refresh rate shown in your monitor’s error message.
How do I fix input signal out of range on an HP monitor?
Beyond the Windows low-resolution fix, try two HP-specific checks. Run a factory reset using the monitor’s physical Menu button (steps vary by model). If you’re using an older VGA-only HP monitor through an adapter, check for a timing mismatch between the converter and the display.
What does “out of range” mean in monitors?
It’s a universal display-industry term, not something unique to HP. It works the same way across LCD, LED, and OLED monitors and TVs from any manufacturer whenever the screen receives a video signal it wasn’t built to support.
Wrapping It Up
Your HP monitor isn’t broken. It’s just being sent a signal it can’t display, and now you know exactly why. Start with the 5-second power cycle, work through the cable and Windows fixes in order, and save the advanced steps for the rare cases where the monitor itself needs attention. Most people get their screen back well before reaching that point.